My Danchel tent is really a teepee but not a teepee.

Our Danchel Teepee at the Kingman Rodeo Grounds for the London Bridge Renaissance Fair March 2023

In my personal blog, [What Have We Learned?] I have intermittently chronicled our acquisition of the Danchel 6m Bell tent. [Here, then here]This was in error. We have no such tent.

The Danchel Bell Tent that we do not own.
Not our tent – at all.

In our defense, when we acquired this thing, it had no documentation, and no poles. Just the tent fabric and a storage bag.  And it was already several years old.

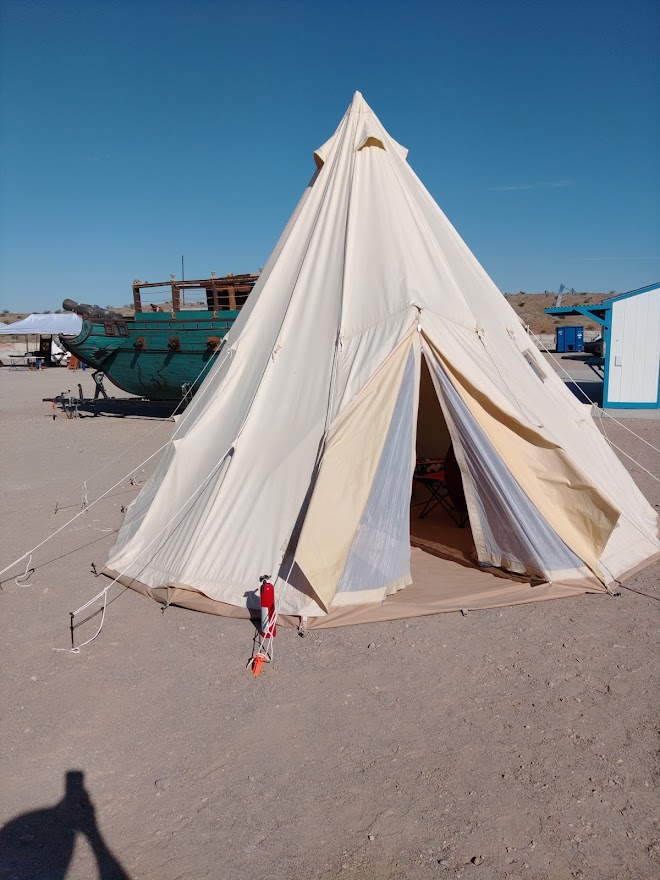
What we have turns out to be a Danchel 5.5m Teepee tent. We learned this setting up at a Renaissance festival (as we do) and our neighbor recognized the contraption. 

A review of said teepee. If only I had found this sooner…

Danchel does not seem to sell this style anymore, certainly not in the US market. They may be available in Asia, as “Indian tents”, which could refer to the type of canvas used rather than the style. These were old websites, though.

It is not actually a teepee in the sense of the traditional native American tents. Those would have several poles spread out along a circle and then brought together at the top to form the iconic cone shape.  [Notes from the Frontier has a good write-up].

My tent has a single pole in the middle. It’s the second one I bought for it, and it’s still too short, being specific to the Danchel Bell tent. I don’t believe I could reliably purchase the proper pole, nor do I want to sink any more money in this, so I adapted.

Before I learned that the pole was simply too short, I went around in many circles trying to conjure a method of removing the droop from the sides.

None of them worked.

Because the pole was too short.

The answer is actually easy – both sets of loops can make to a guy stake that I try to place about three feet out.  I have found that in good weather, I only need to make the top row.

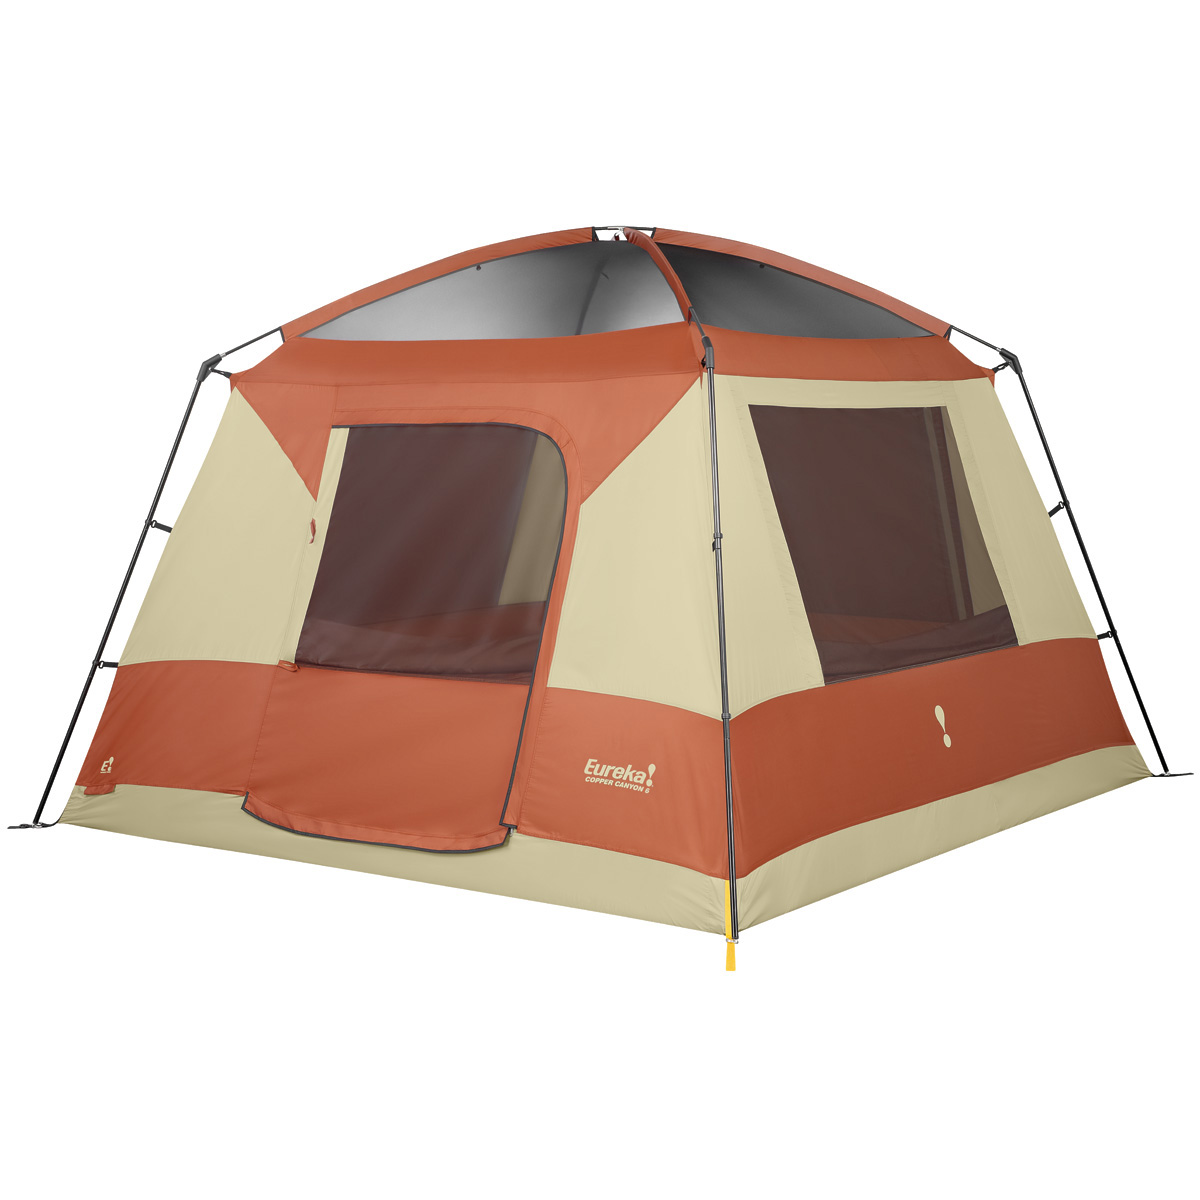
This revelation also explained why I could never find the loops and holes for the doorway frame that is a feature of Bell tents. Yes – I bought one of those as well. The teepee has no holes or loops for the A-frame it does not need.

So I have an A-frame for a 6m Danchel Bell tent in my garage, and if you need it contact me. It’s yours for cost of shipping.

I also still have those stupid wooden stakes, but I will find a use for them.

Like their bell tent, the Danchel teepee features a zippered-in heavy-duty bathtub floor. Currently, all of that zip hardware still works.  The floor can be completely removed if you want.

In the Bell tents, it is possible to hike up the walls a couple of feet to provide a more ventilated shade structure. The teepee does not have those means, though it could likely be done by just roiling up the side sections and clipping them.

We haven’t tried. At fair, it is both dressing room and sleeping quarters.

It comes with a flap for your stove vent, but we have sewn over that burn-damaged flap. We do not camp in the snow.

Now that we’re done with what not to do, here are some best practices I can recommend.

You really, really have to dry this thing – somehow –  before storage. You do not want to store it wet for any longer than it takes to drive to someplace sunny and open.

I use the 12” heavy duty tent stakes, the ones that look like giant nails. Anything less will frustrate you when you are trying to convert the dirt parking lot of a rodeo ground into a renaissance market.  I can usually get them in and out with a straight claw hammer, but I carry both a 8lbg sledge and a 3’ crowbar, and have used both on occasion.

It is also well to have something bright to wrap around your guy stakes, as they are trip hazards even in the sober daylight. I use a pair of bright orange ratchet straps. I also use a ratchet strap instead of a guy line for the loop over the doorway. This is a hangover from when I tried to incorporate an A-frame, but it is also more stumble resistant.

Here’s the video I did not put on You-Tube about inserting the pole.

This goes for any tall pole in a tent.

I use an 8” wooden apple-box to prop up the bottom of the pole. It is the stand where the water bottle and toilet paper (two things you should always have in a sleeping tent) always return to.

The last time I kept track it went up in 90 minutes and went down in 50.  Yes – I got it back into the bag – dry.

Checklist for Hikers (and hiking guide authors)

Items that pertain to normal people are written normally.

(Items that pertain only to guidebook authors are in parentheses).


AT HOME:

c_5-Star-Flagstaff-Sedona
One possible resource for researching a trail. Just saying…

  1. Pick a hike. Don’t just drive somewhere and hope for inspiration.
  2. Pick the best hike feasible. Never skip a good hike for a mediocre hike thinking, “I’ll get to that other hike soon enough…” Weather/health/family/jobs sabotage hiking opportunities all the time. (If you haven’t prioritized your hike list by coolness vs accessibility, go do that now.)
  3. Do a little research. This, of course, depends on how comfortable you are with uncertainty. Some hikers like to know everything before they go (for which guidebook authors must be grateful). Some just want to know how to get to the trailhead, and let everything else be a surprise. At a minimum, though, you should know what the weather’s going to be like, and the water or fire conditions.
  4. (Learn something about the history, geology and ecology of your hike destination – so you know what to look for on the trail. Yeah, you can do a lot of that afterwards, but why work harder?)


PACKING THE GEAR


  1. Get a map. Bring it with you. Your GPS does not count. (Print an extra one for your significants – so they can refer to it when they call the emergency response team later)
  2. Gather your essential survival things. (Have these in a kit ready to go, and keep that kit in your vehicle, so your son does not plunder it).
  3. Calculate the most water you could possibly consume on the hike, and put at least twice that amount in the car.
  4. Don’t forget lunch!
  5. Make sure your GPS, flashlight and camera are charged.
  6. (Make sure your GPS has memory left.)
  7. (Make sure your flashlight actually works.)
  8. Make sure you camera has memory.
  9. (Clean the lens on the camera.)
  10. (Bring a notebook and a working pen – because bad things can happen to digital recording devices in the wild).
  11. If the hike is more than 10 miles round trip, or you know you won’t make the trailhead until after 11 am, pack extra batteries for the flashlight, and bring an extra layer of clothing. At ten miles or more, or a noon start or later, you are one wrong turn from looking for the trailhead by moonlight.
  12. Gather this stuff the night before if you can.


AT THE TRAILHEAD

KIMG0119

  1. Turn on the GPS, and let it find the satellites while you do the rest of your things.
  2. Finish your coffee. It won’t taste good when you get back.
  3. Now drink something else – don’t start the hike dehydrated.
  4. (Write down the GPS coordinates of the trailhead. Don’t just recite them into the DVR – write them down! Remember altitude.)
  5. Top off all the water containers.
  6. If there is some sort of toilet – use it. Especially if there are a lot of other cars at the trailhead. I don’t have to explain this logic – right?
  7. (Test the recording devices. Get the date and start time in the first recording, so you can use it on your blog seven months from now.)
  8. (Take a Bongo picture at the trailhead.)
  9. Lock the car.
  10. (Catch up with your companions who grew weary of your fussing and have already started the hike.)


Eureka Copper Canyon 6 Tent Review

[This is a thing we do here from time to time. Unless noted, you can assume I bought the item in question.]

CC tent 10
Copper Canyon 6 in its natural environment.

Several years ago (2013) prior to what would become the Last Family Camping Trip, my wife and I, once we realized we did not have the finances to pull off any level of RV trailer, decided the consolation prize would be a really good tent. Our teenage kids, by his point, preferred their own tents, the dogs were not coming, and our giant, two room tent seemed actually too large. Also, it had leaks and failing zippers and other maladies that beset aging tents.

1043297_primary
How Eureka envisions the tent.

After some shopping about, we settled upon the Eureka Copper Canyon 6. What sold us was the steep walls and high ceiling which maximized 10’x10’ living space within the tent. The tent tops out at 7’, but even better, the walls are at least 6’, and nearly vertical. That means normal adults can stand up anywhere in that 10’x10’ space. We were old enough that we did not want getting dressed to be an Olympic event anymore, and having space, not on the air mattress, to do that was what sold us.

CC tent 11
All cleaned up for picture day.

Being able to sit in camp chairs inside a tent mitigates a lot of otherwise miserable circumstances at a campsite. Like riding out rainstorms. Or putting on socks.

Eureka touts the zippered port for an extension cord as some sort of big selling point. In my world-view that would be just another means for vermin to sneak in and/or another zipper to fail. People who value that sort of thing are really just biding time until they get an RV.

That said, I think we made use of it at a KOA in Oregon, so that the kids would have a dry spot to charge their phones besides the car. But the adults to not go out into the woods to stare at screens.

Make no mistake: this is a campground tent – not a wilderness expedition tent. It weighs about 30 pounds, and packs as thick as a sleeping bag and slightly longer. The zippers and the floor are all family camp grade. If you’re looking at heavy use, you will want some sort of ground-cloth, and a better grade of tent stakes than the ones that come with the tent. Mine had no leaks or zipper failures as of September 2018, but that’s really less than 20 use nights.

CC tent 9

The three-season rating is somewhat aspirational. It will take some wind and rain, as all tents should, but the design is more about privacy in summer than resisting inclement weather in early spring or late fall.

To get vertical walls, they had to include plastic sleeves to provide rigid corners. That works well, but setting the poles into those sleeves will take strong hands, and it is a LOT easier with two people. That said, I can set it up and take it down by myself in the same 20 minutes Eureka says is normal, but I’m pretty good at this sort of thing.

You could not leave this to junior high children and expect success.

CC tent 4

Minor nuisances in setting up: the upper tent poles, the wide ones, are longer than you think, and must go through sleeves at the top. Sleeves always aggravate me, and you will struggle to keep the extended end out of the dirt. Making the vertical poles will take strong hands. The rain fly is several orders of magnitude easier with two people, but that would be the case with any tent of this size.

Eureka did mark one corner for reference (this matters) and there are pockets in the rain-fly to stow the guy-lines, which saves a treasure hunt for yet another nylon sack.

Unlike Eureka’s backpacking tents, the carry bag is actually generously sized. You do not have to refold the thing to within a millimeter of factory spec to get it back inside the bag. I fold it ends to center and one more time over, but the tent is square – it really doesn’t matter which end you fold from. Four folds will leave the tent no wider than the bag of poles. Plop that bag on one end, roll to the other, and shove it in the bag.

I do not bring this thing when I camp alone – I have a hammock. But recently I had occasion to camp in a campground with a guest. Hammocks do not work well with campgrounds, or guests.

In the video below, I set it up in my backyard because I hadn’t used it in a while, and I wanted to make sure it was still complete and intact. The rest is from the above mentioned campground, namely Hualapai Mountain Regional Park near Kingman AZ.

I remember paying nearly $600 for this tent in 2013, because it was the new whiz-bang thing, and we had lost our window to shop around for price. Eureka now lists it at $259.95. That’s worth the money, if you need to duplicate your bedroom at the campsite.

CC tent 13
Did I mention there is room for a chair?


How to Camp in a Hammock

Sleeping on the ground is a part of nature that no one really wants to go back to. One of the central drives behind building civilizations in the first place was an effort to avoid this. And here you are, staring at a campsite where the ground is invariably some combination of hard, wet, rocky or uneven.  Tents and pads, for all their developments do not really solve this problem; they just make it less miserable. For the same kind of time and money, perhaps less, you could rise above it all.

You could spend the night in a hammock.

You’re thinking hammocks are great for napping, and you’re right, but spend the night? Yes. Seriously. There is a whole sub-culture that does this regularly, and their willingness to spend time and money on this approach has greatly improved the quality and variety of hammocks in recent decades.

AM b

But before we go any further,  you should know that swinging in a hammock all through the night is not for everyone. You can stop reading now if any of the below applies:

  • You have specific back issues, particularly if you have to lie flat on a hard surface. You’ll never get there in a hammock. You can get flat – and we’ll get to that – but you will never get to hard surface. That’s kinda the point of hammocks to begin with.
  • You are claustrophobic. By the time you weather-proof and bug proof a hammock, something is going to be suspended a few feet from your face – all night.
  • You are particularly modest. You will only try changing clothes inside the hammock once. After that, your neighbors are going to see you in your skivvies for a moment at least.

Are we still good? Ok.

IMG_20180722_111621_729

You do not need an expedition grade hammock. You just want one (features, convenience, durability, the envy of others). What you need is a comfortable hammock, bug netting, a rain-fly or tarp, and a sleeping pad. Start cheap until you know you want to swing every night.

Good hammocks with mosquito netting start at around $50 and go upwards to ten times that amount for expedition grade all weather “habitats”. You can buy one with a fitted tarp (these start at around $100) or you can buy the tarp separately (and cheaply). The tarp or rain fly needs to be wide enough to cover the entire length of the hammock and should have the means to be staked down.

Hanging a hammock is all about location. You’ll need two trees or branches thick enough (you want at 8” in diameter of live wood). A Y consisting of two large branches is ideal. The real trick is finding two trees the right distance apart (most need 10-12 feet). If you want to use math, the formula is the length of your hammock and then add half that. There’s some fudge in that depending on what you use to wrap the trees.  This might take a few tries. Cut a piece of string to the length of your span, so you can try out trees without dragging your hammock through the dirt. (I leave that string in place and hang clothes and other convenience items from it.)

KIMG0171

If you can tie your shoes, you have sufficient engineering acumen to hang a hammock.

As long as you wrap all the way around the tree at least once, the choke or wrap is self-constricting; the more weight you put on it, the tighter it gets. You don’t need fancy hardware. Especially, do not screw hardware into the tree. I use two 6’ straps from old tie-down ratchets with loops tied in each end. Six feet is about the shortest you can consistently make work. The longer the straps, the more your options. Some published experts recommend at least 12 feet.

Wrap the tree, and hook both ends of the strap to the hammock (carabiners work great for this). If you need the extra length, you can pass one loop through the other and choke the tree that way – just make sure the through loop is tight against the tree .Normally, if I wrap the tree just above my head, this will put the carabiner (or whatever you use) right about at eye level – which is ideal. This will put the middle of the hammock at about seat level, which is where you want it. As you sit in the hammock, you feet should just touch the ground.

Make sure you test it with your full weight. You want to know sooner rather than later if those wraps will hold.

If your hammock came with a rain-fly then it also came with instructions, so follow those. If, like me, you use an aftermarket rain-fly, as it were, the ideal size has the corner grommets clipping into your carabiners while the tarp is taught. Stake the other two corners to thKIMG0179
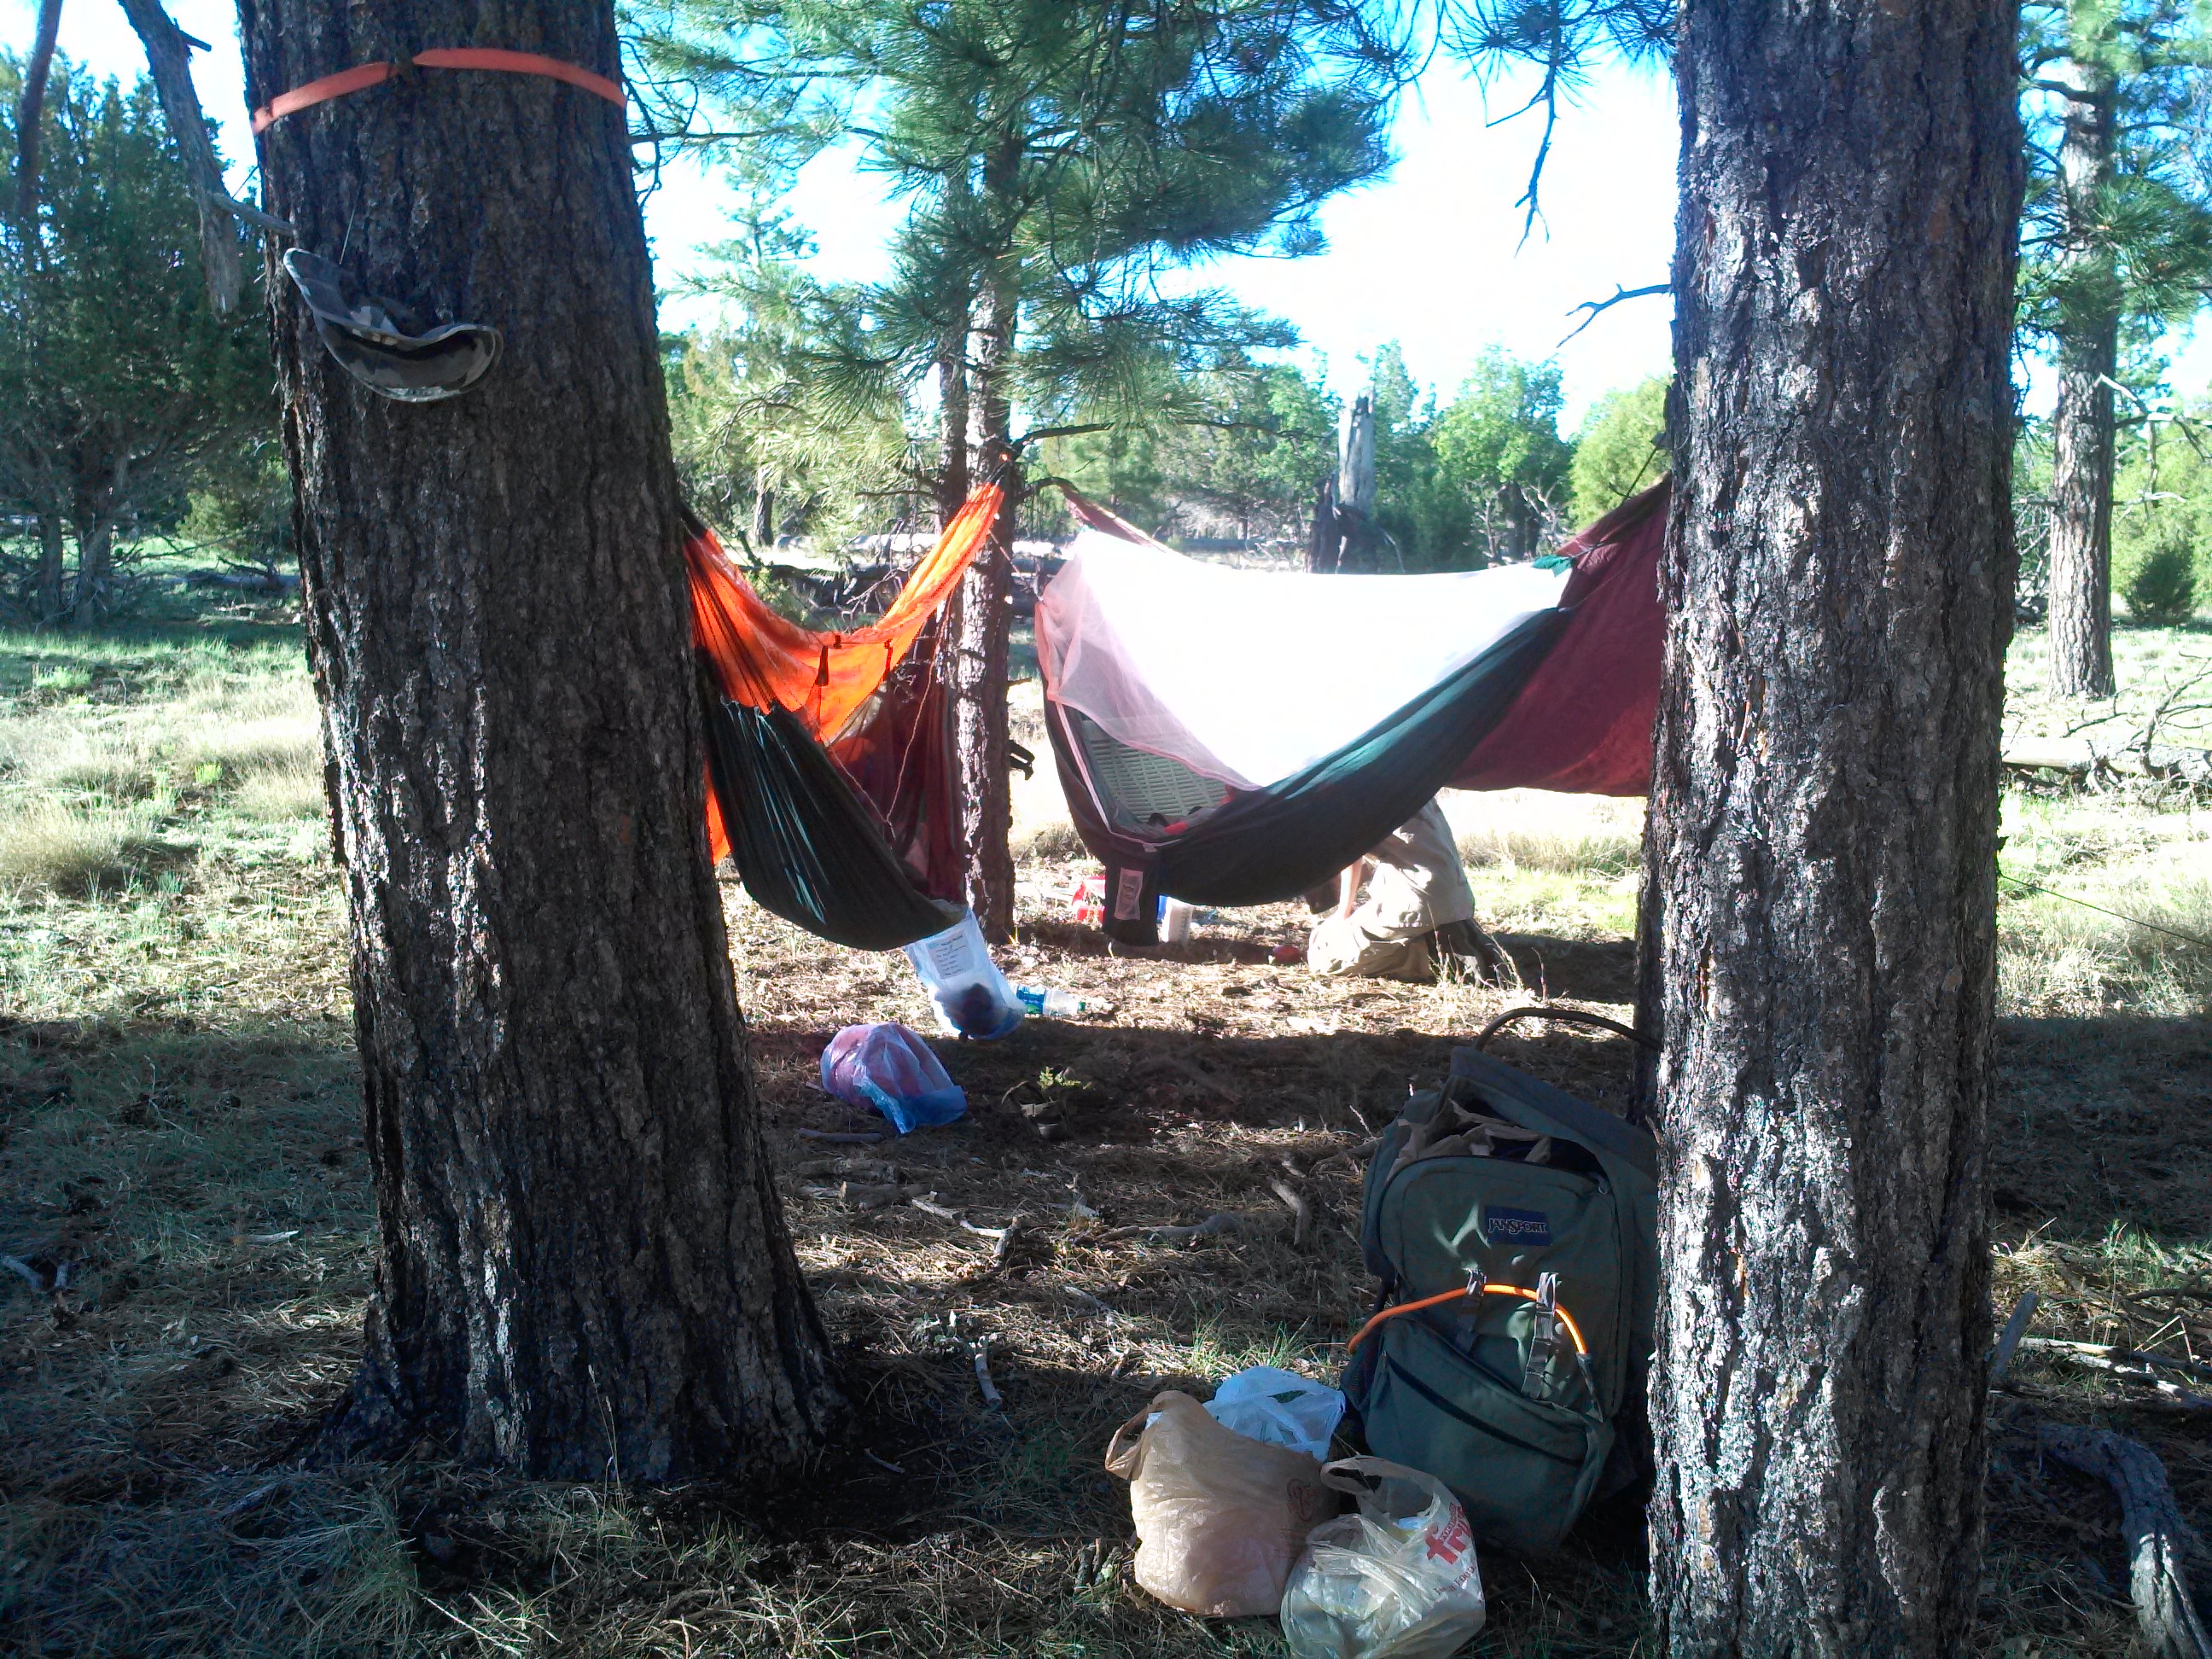
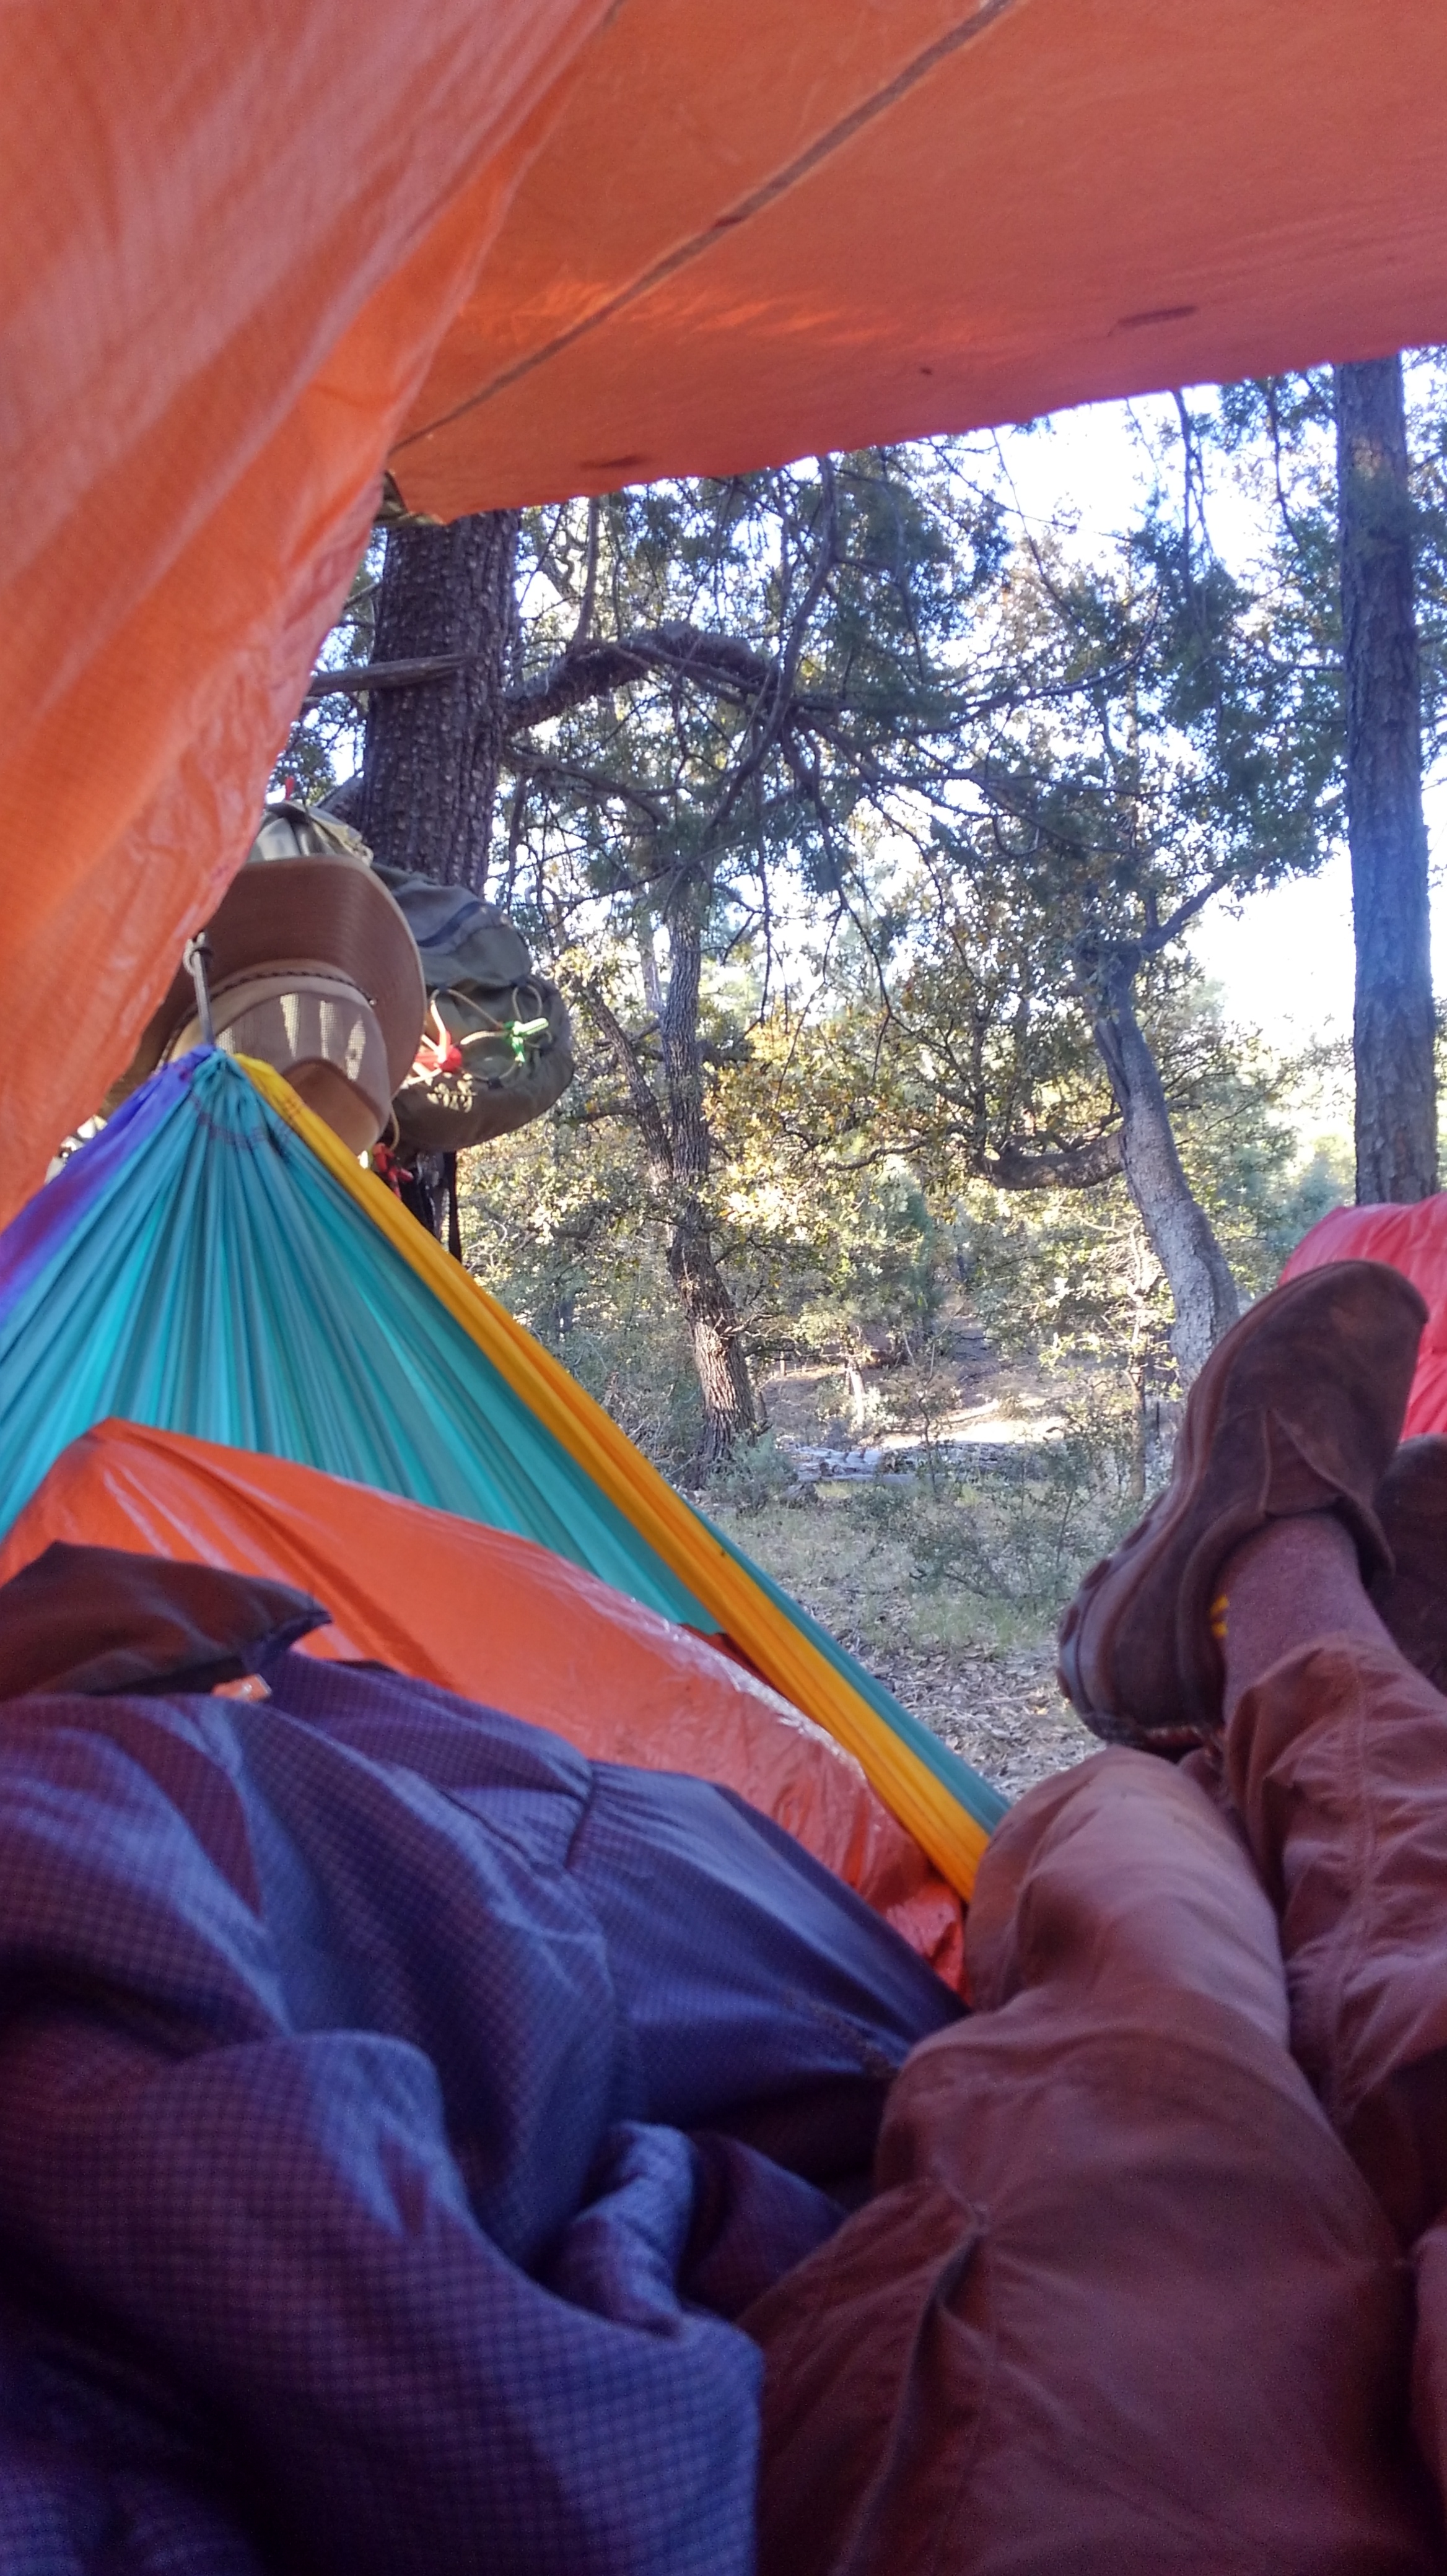
e ground, leaving enough of an angle to get in and out of the hammock.

You won’t need a sleeping pad for comfort, but you might need it for warmth  as it will provide a barrier between you and the wind blowing beneath the hammock. On a warm night, you can leave it out.

One last tip: set your hammock up while you’re still sober. That’s good advice from direct experience.

Spending the night in a hammock takes some getting used to, but once you get the hang of it (sorry), you’ll find that you do not miss that mean old ground at all.


RELATED VIDEOS: