Backpacking in Point Reyes National Seashore

KIMG0669
Bongo at Bear Valley Trailhead

In April of 2018 I scored a permit to camp inside the Point Reyes National Seashore just north of San Francisco. There are no drive-in campsites in Point Reyes; they are all walk-in or boat in. In the case of the Glen Campground, where I had a ($20) permit, this meant about 5 miles from the visitor center.

Just long enough to call it backpacking.

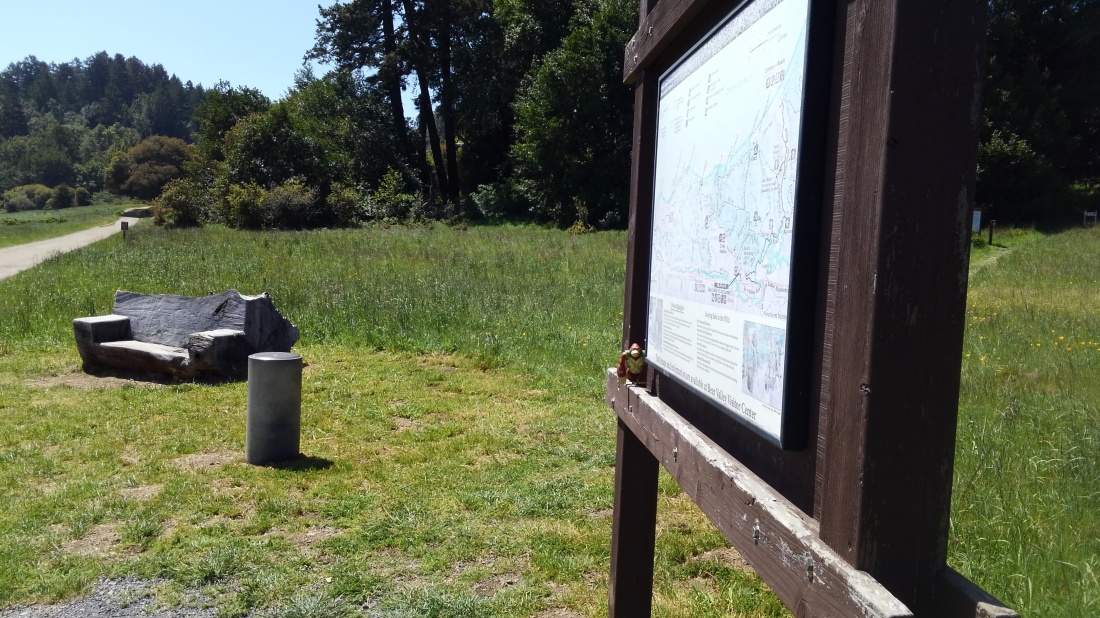
The Bear Canyon Visitor Center is everyone’s first stop, being where the permits come from, and correspondingly crowded. Get beyond it, and the little maze of day-use trails wandering around the picnic grounds, and the crowds started to thin, even on a Sunday afternoon with good weather.

I headed south(ish) along the Bear Valley trail until I realized this dirt road is everyone’s day hike. So I cut to the right, west, up the Meadow Trail. This spur trail cuts steeply uphill to the Skyline Trail, which bisects the main ridge forming the peninsula.

KIMG0666.JPG
Pretty typical…

The heart of Point Reyes is Inverness Ridge, which has been separated from Bolinas Ridge on the coast be the San Andreas fault. To the north end of the peninsula, that fault line is submerged by Tomales Bay. To the south it runs roughly under Highway 1. Point Reyes is a couple notches of Richter Scale away from being an island.

The thick canopy of trees and brush are all part of the Phillip Burton Wilderness, which actually encompasses about a third of the total peninsula. The rest is extant private ranches and a scattering of state and local parks.

It felt strange climbing the hill, until I realized that I was still at about 700’ total elevation. The atmosphere was still thick. And humid – I soaked everything in sweat with temps in the low 80’s.


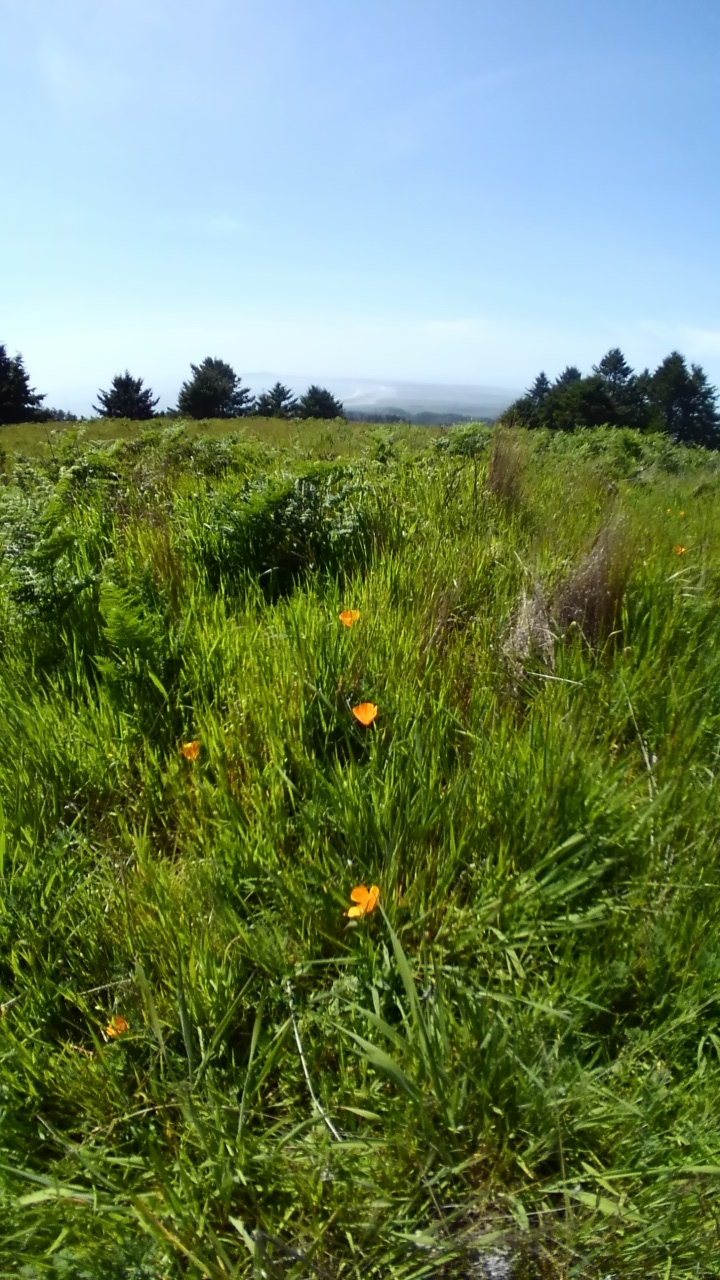
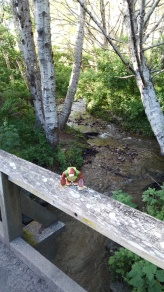
About a mile and a half past where I picked it up from the Meadow trail, Skyline winds down the west side of the ridge towards but not to the Pacific. The trees open up, and you are in for a heavy dose of sea breeze and sunlight. It cuts back inland to cross Coast Creek via a wooden bridge. I snuck off to the side here,and found a place to force my feet into the frigid creek.

KIMG0657.JPG
The bridge across Coast Creek

I wasn’t at blisters yet, but I could feel them coming.

Work boots aren’t hiking boots. Good Advice from Direct Experience.

Happily, I was less than a mile at that point from Glen Camp, though I likely hiked 6.5 miles overall taking the scenic route.


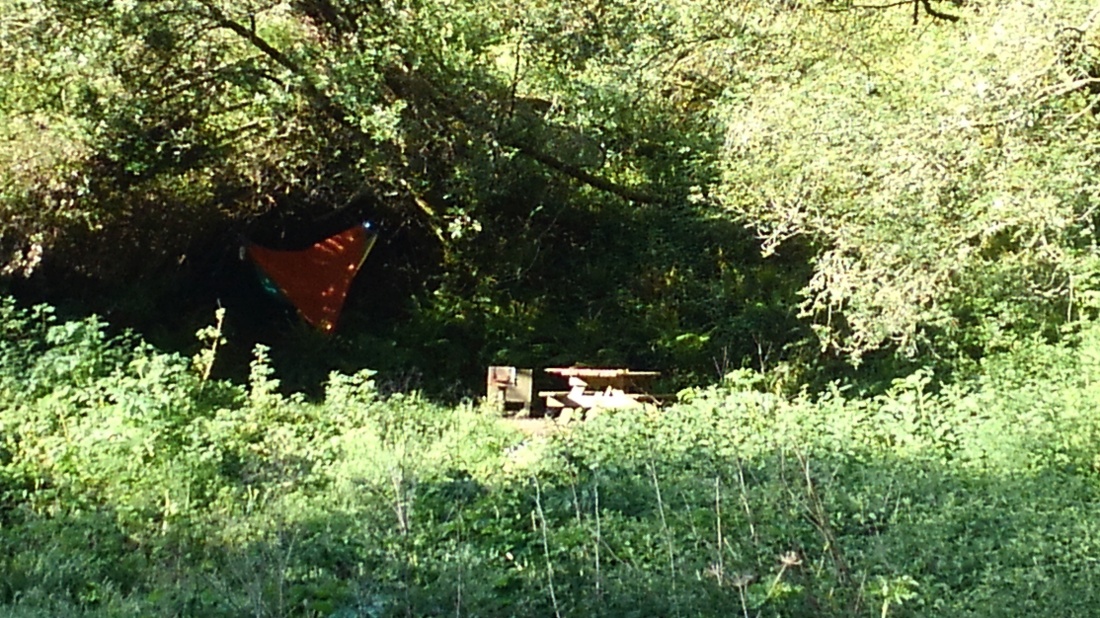
The walk-in campsite has twelve designated sites fanning out from a vault toilet. Each campsite has a table, fire ring and an enclosure to protect your food from ambitious raccoons. There is also, unpublicized, a water spicket available for use. I had to hang my hammock over some pretty steep hillside, but otherwise had no complaints.

KIMG0658.JPG
Glen Campground – site 12.

In April, the overnight low reached the low 40’s, maybe upper 30’s. I had to use all my layers.

In the morning, after a leisurely – for me – breakfast, I conceded to my blisters and took a more direct route to the wide and sunny Bear Valley trail. With the ridge to my west, and Divide Meadow refusing to block any morning sun to my east, and limp-marched back to the visitor center.

KIMG0649

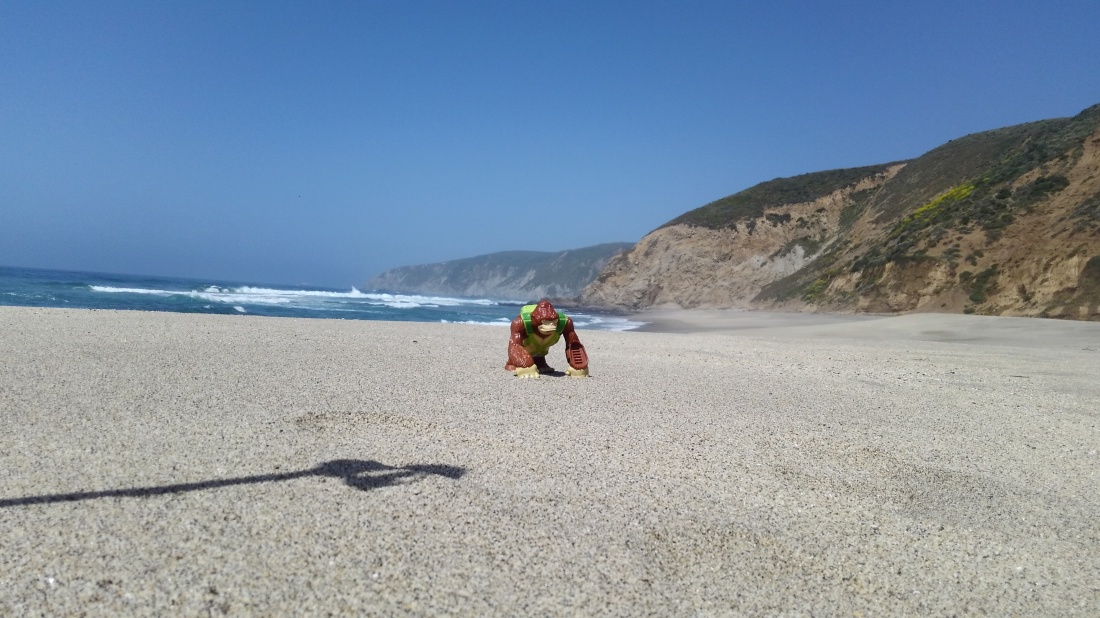
Even at that pace, I had time to drive out to McClure’s Beach towards the north tip of the Peninsula. You reach it via a narrow road winding sharply through prairie covered hills, where you are not likely to get out of 4th gear. The short trail follows a drainage to a wide beach flanked by tide pools. Worth it even with blisters.

KIMG0674.JPG
Bongo at McClure’s Beach

Worth it more: the bar in Olema, the tiny town that guards the entrance to the park, where I had oysters and whiskey for a late-late lunch. Cannot recommend that sort of thing enough.

So, Easy, Scenic and Fun. The hard part is getting there – and totally worth it.

Advertisement

How to Camp in a Hammock

Sleeping on the ground is a part of nature that no one really wants to go back to. One of the central drives behind building civilizations in the first place was an effort to avoid this. And here you are, staring at a campsite where the ground is invariably some combination of hard, wet, rocky or uneven.  Tents and pads, for all their developments do not really solve this problem; they just make it less miserable. For the same kind of time and money, perhaps less, you could rise above it all.

You could spend the night in a hammock.

You’re thinking hammocks are great for napping, and you’re right, but spend the night? Yes. Seriously. There is a whole sub-culture that does this regularly, and their willingness to spend time and money on this approach has greatly improved the quality and variety of hammocks in recent decades.

AM b

But before we go any further,  you should know that swinging in a hammock all through the night is not for everyone. You can stop reading now if any of the below applies:

  • You have specific back issues, particularly if you have to lie flat on a hard surface. You’ll never get there in a hammock. You can get flat – and we’ll get to that – but you will never get to hard surface. That’s kinda the point of hammocks to begin with.
  • You are claustrophobic. By the time you weather-proof and bug proof a hammock, something is going to be suspended a few feet from your face – all night.
  • You are particularly modest. You will only try changing clothes inside the hammock once. After that, your neighbors are going to see you in your skivvies for a moment at least.

Are we still good? Ok.

IMG_20180722_111621_729

You do not need an expedition grade hammock. You just want one (features, convenience, durability, the envy of others). What you need is a comfortable hammock, bug netting, a rain-fly or tarp, and a sleeping pad. Start cheap until you know you want to swing every night.

Good hammocks with mosquito netting start at around $50 and go upwards to ten times that amount for expedition grade all weather “habitats”. You can buy one with a fitted tarp (these start at around $100) or you can buy the tarp separately (and cheaply). The tarp or rain fly needs to be wide enough to cover the entire length of the hammock and should have the means to be staked down.

Hanging a hammock is all about location. You’ll need two trees or branches thick enough (you want at 8” in diameter of live wood). A Y consisting of two large branches is ideal. The real trick is finding two trees the right distance apart (most need 10-12 feet). If you want to use math, the formula is the length of your hammock and then add half that. There’s some fudge in that depending on what you use to wrap the trees.  This might take a few tries. Cut a piece of string to the length of your span, so you can try out trees without dragging your hammock through the dirt. (I leave that string in place and hang clothes and other convenience items from it.)

KIMG0171

If you can tie your shoes, you have sufficient engineering acumen to hang a hammock.

As long as you wrap all the way around the tree at least once, the choke or wrap is self-constricting; the more weight you put on it, the tighter it gets. You don’t need fancy hardware. Especially, do not screw hardware into the tree. I use two 6’ straps from old tie-down ratchets with loops tied in each end. Six feet is about the shortest you can consistently make work. The longer the straps, the more your options. Some published experts recommend at least 12 feet.

Wrap the tree, and hook both ends of the strap to the hammock (carabiners work great for this). If you need the extra length, you can pass one loop through the other and choke the tree that way – just make sure the through loop is tight against the tree .Normally, if I wrap the tree just above my head, this will put the carabiner (or whatever you use) right about at eye level – which is ideal. This will put the middle of the hammock at about seat level, which is where you want it. As you sit in the hammock, you feet should just touch the ground.

Make sure you test it with your full weight. You want to know sooner rather than later if those wraps will hold.

If your hammock came with a rain-fly then it also came with instructions, so follow those. If, like me, you use an aftermarket rain-fly, as it were, the ideal size has the corner grommets clipping into your carabiners while the tarp is taught. Stake the other two corners to thKIMG0179
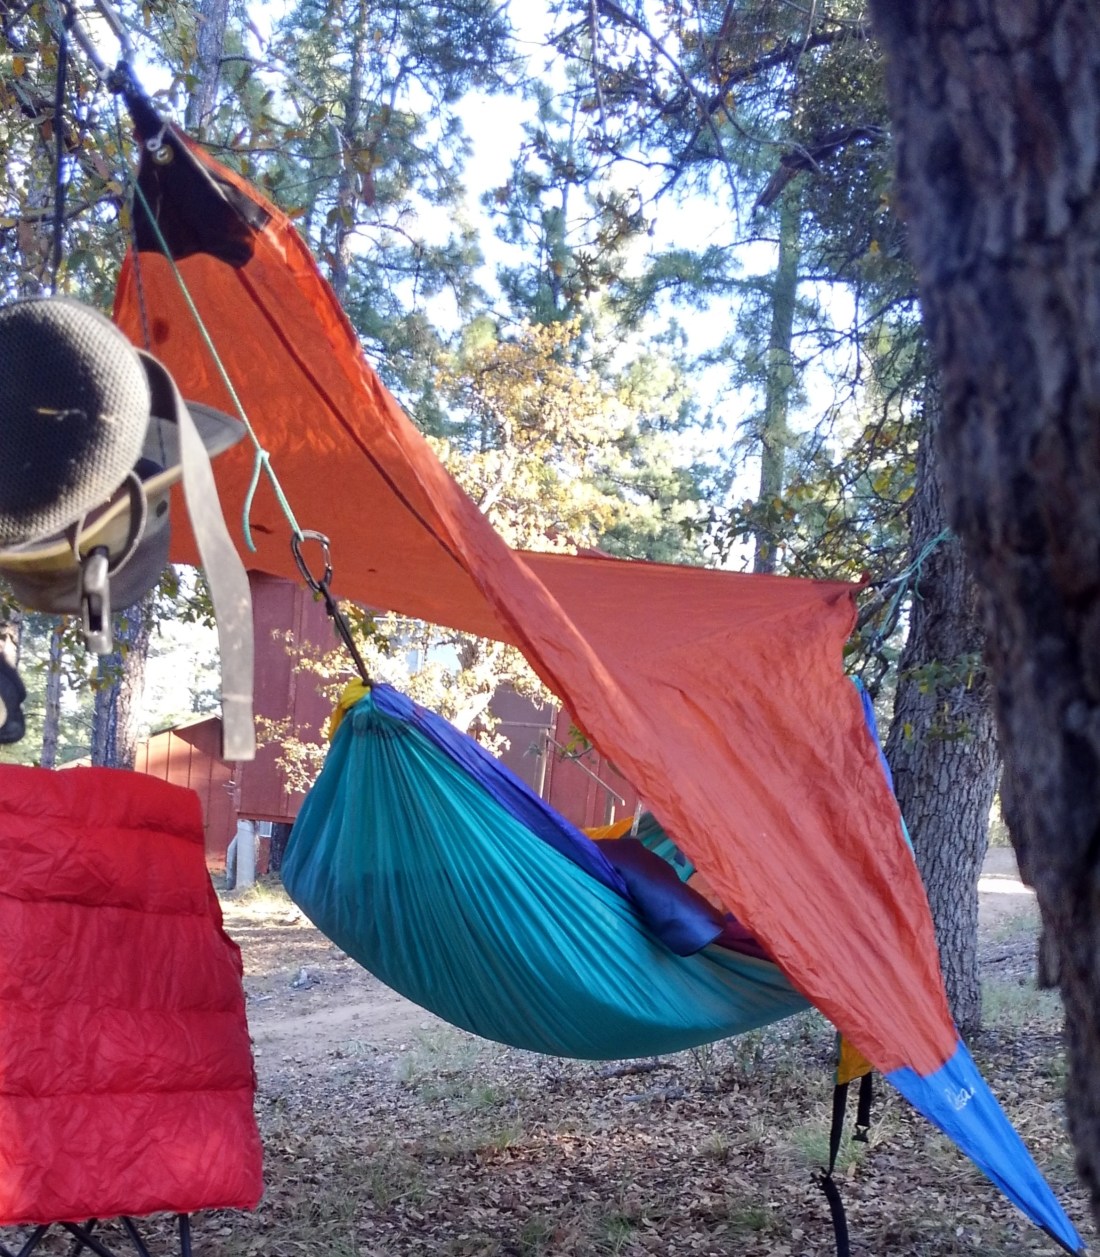
e ground, leaving enough of an angle to get in and out of the hammock.

You won’t need a sleeping pad for comfort, but you might need it for warmth  as it will provide a barrier between you and the wind blowing beneath the hammock. On a warm night, you can leave it out.

One last tip: set your hammock up while you’re still sober. That’s good advice from direct experience.

Spending the night in a hammock takes some getting used to, but once you get the hang of it (sorry), you’ll find that you do not miss that mean old ground at all.


RELATED VIDEOS: