
You get what you pay for – but you only get what you pay for.

If Golden Bear Tents is not a house brand for Big 5 Sporting Goods, it might as well be. That is where I bought mine in person, and the only outlet that sells them new online.
Don’t mistake them for the jewelry and sportswear company, or some Canadian outfit that sells higher end tactical gear exclusively via internet or several other companies selling everything from pool cleaning to insurance.
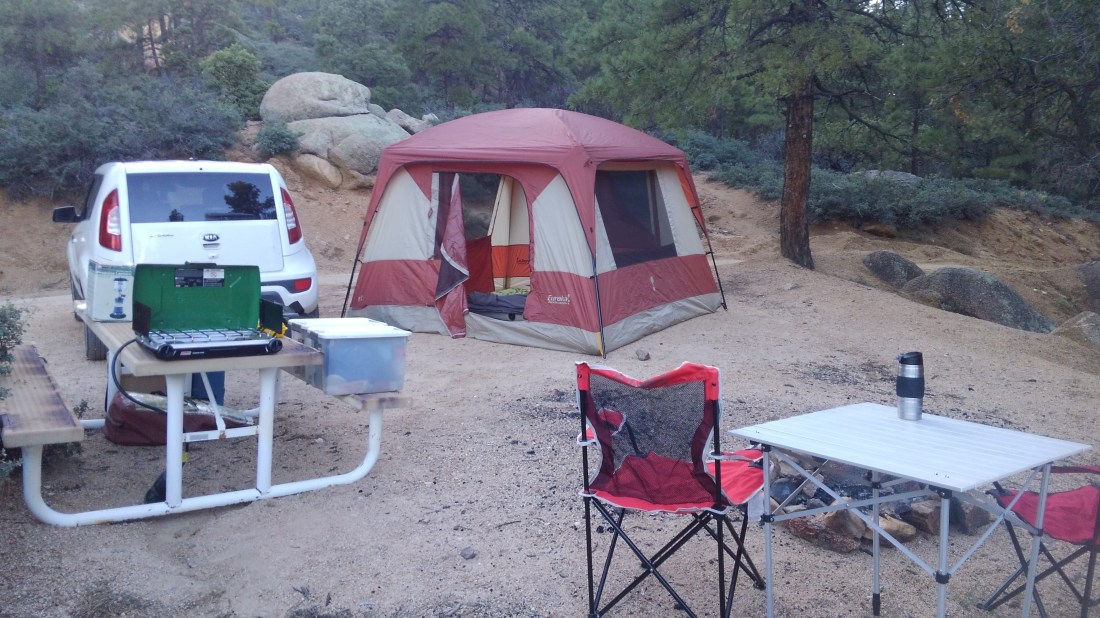
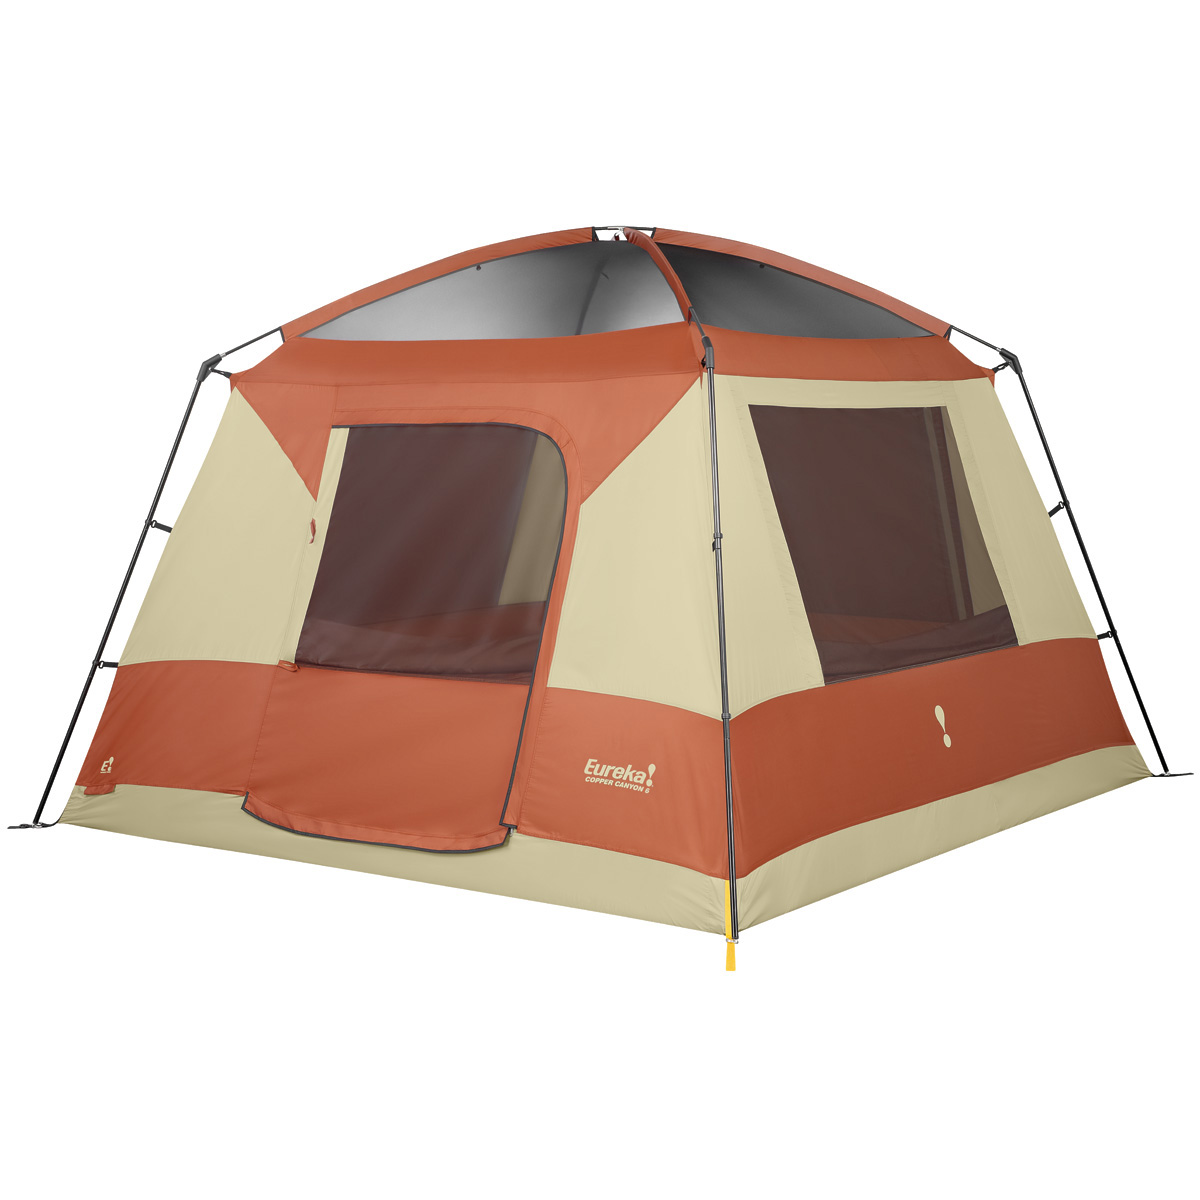
Golden Bear makes, let’s face it, affordable tents, and that was the primary draw for me to purchase this one. The zippers on my much higher end Copper Canyon 6 had finally failed, and I needed a replacement quickly for what was left of a paycheck. That replacement ideally would have enough room for our queen-sized air mattress and enough height to dress standing up – which meant straight walls. Big 5 had this tent – which met those specs – on sale for just under $80. Sold.

This has everything you expect from a tent made in this century: fiberglass poles; detachable rainfly, dual zippers, bathtub floor, a couple of mesh pockets and a little flap for your electrical outlet. All of these features can be found on any other tent sold in any other US sporting goods store. There is zero innovation about this tent.
It actually had better ventilation than I was expecting, and did I mention that I can stand up in it? Well, I can.


The tent clips to the poles. There is only one small sleeve for the optional canopy pole. That makes set-up quick – if you have two people. If one person tries to set it up, you have to clip the middle (top) portion first, and then do the legs. I think. I’ve always had help, and even then, it helps to be tall.
Like most budget tents, the carrying bag is not generous, and you must roll it up the exact width of the pole bag and no longer, or it will not fit back inside.
I have not used it in bad weather, but I have low expectations. I clearly got what I paid for. There’s a mud flap and tie downs and such, so you could rig for storms, but I never have. This is a privacy tent for established campgrounds in good weather. The nylon is thin, the stitching is minimal, and the zipper feels less substantial than the Copper canyon zipper which took ten years to fail.
This is not an adventure tent. Happily, I do not need one. I needed a tent to sleep and change clothes in on weekend escapes and occasionally ren fairs. I expect to get a year or so of that sort of use out of it.
If that’s all you need out of a tent, this one is fine and affordable. If you plan to stay out your 14 day limit in the wilderness during monsoon season, you may wish you spent more money.


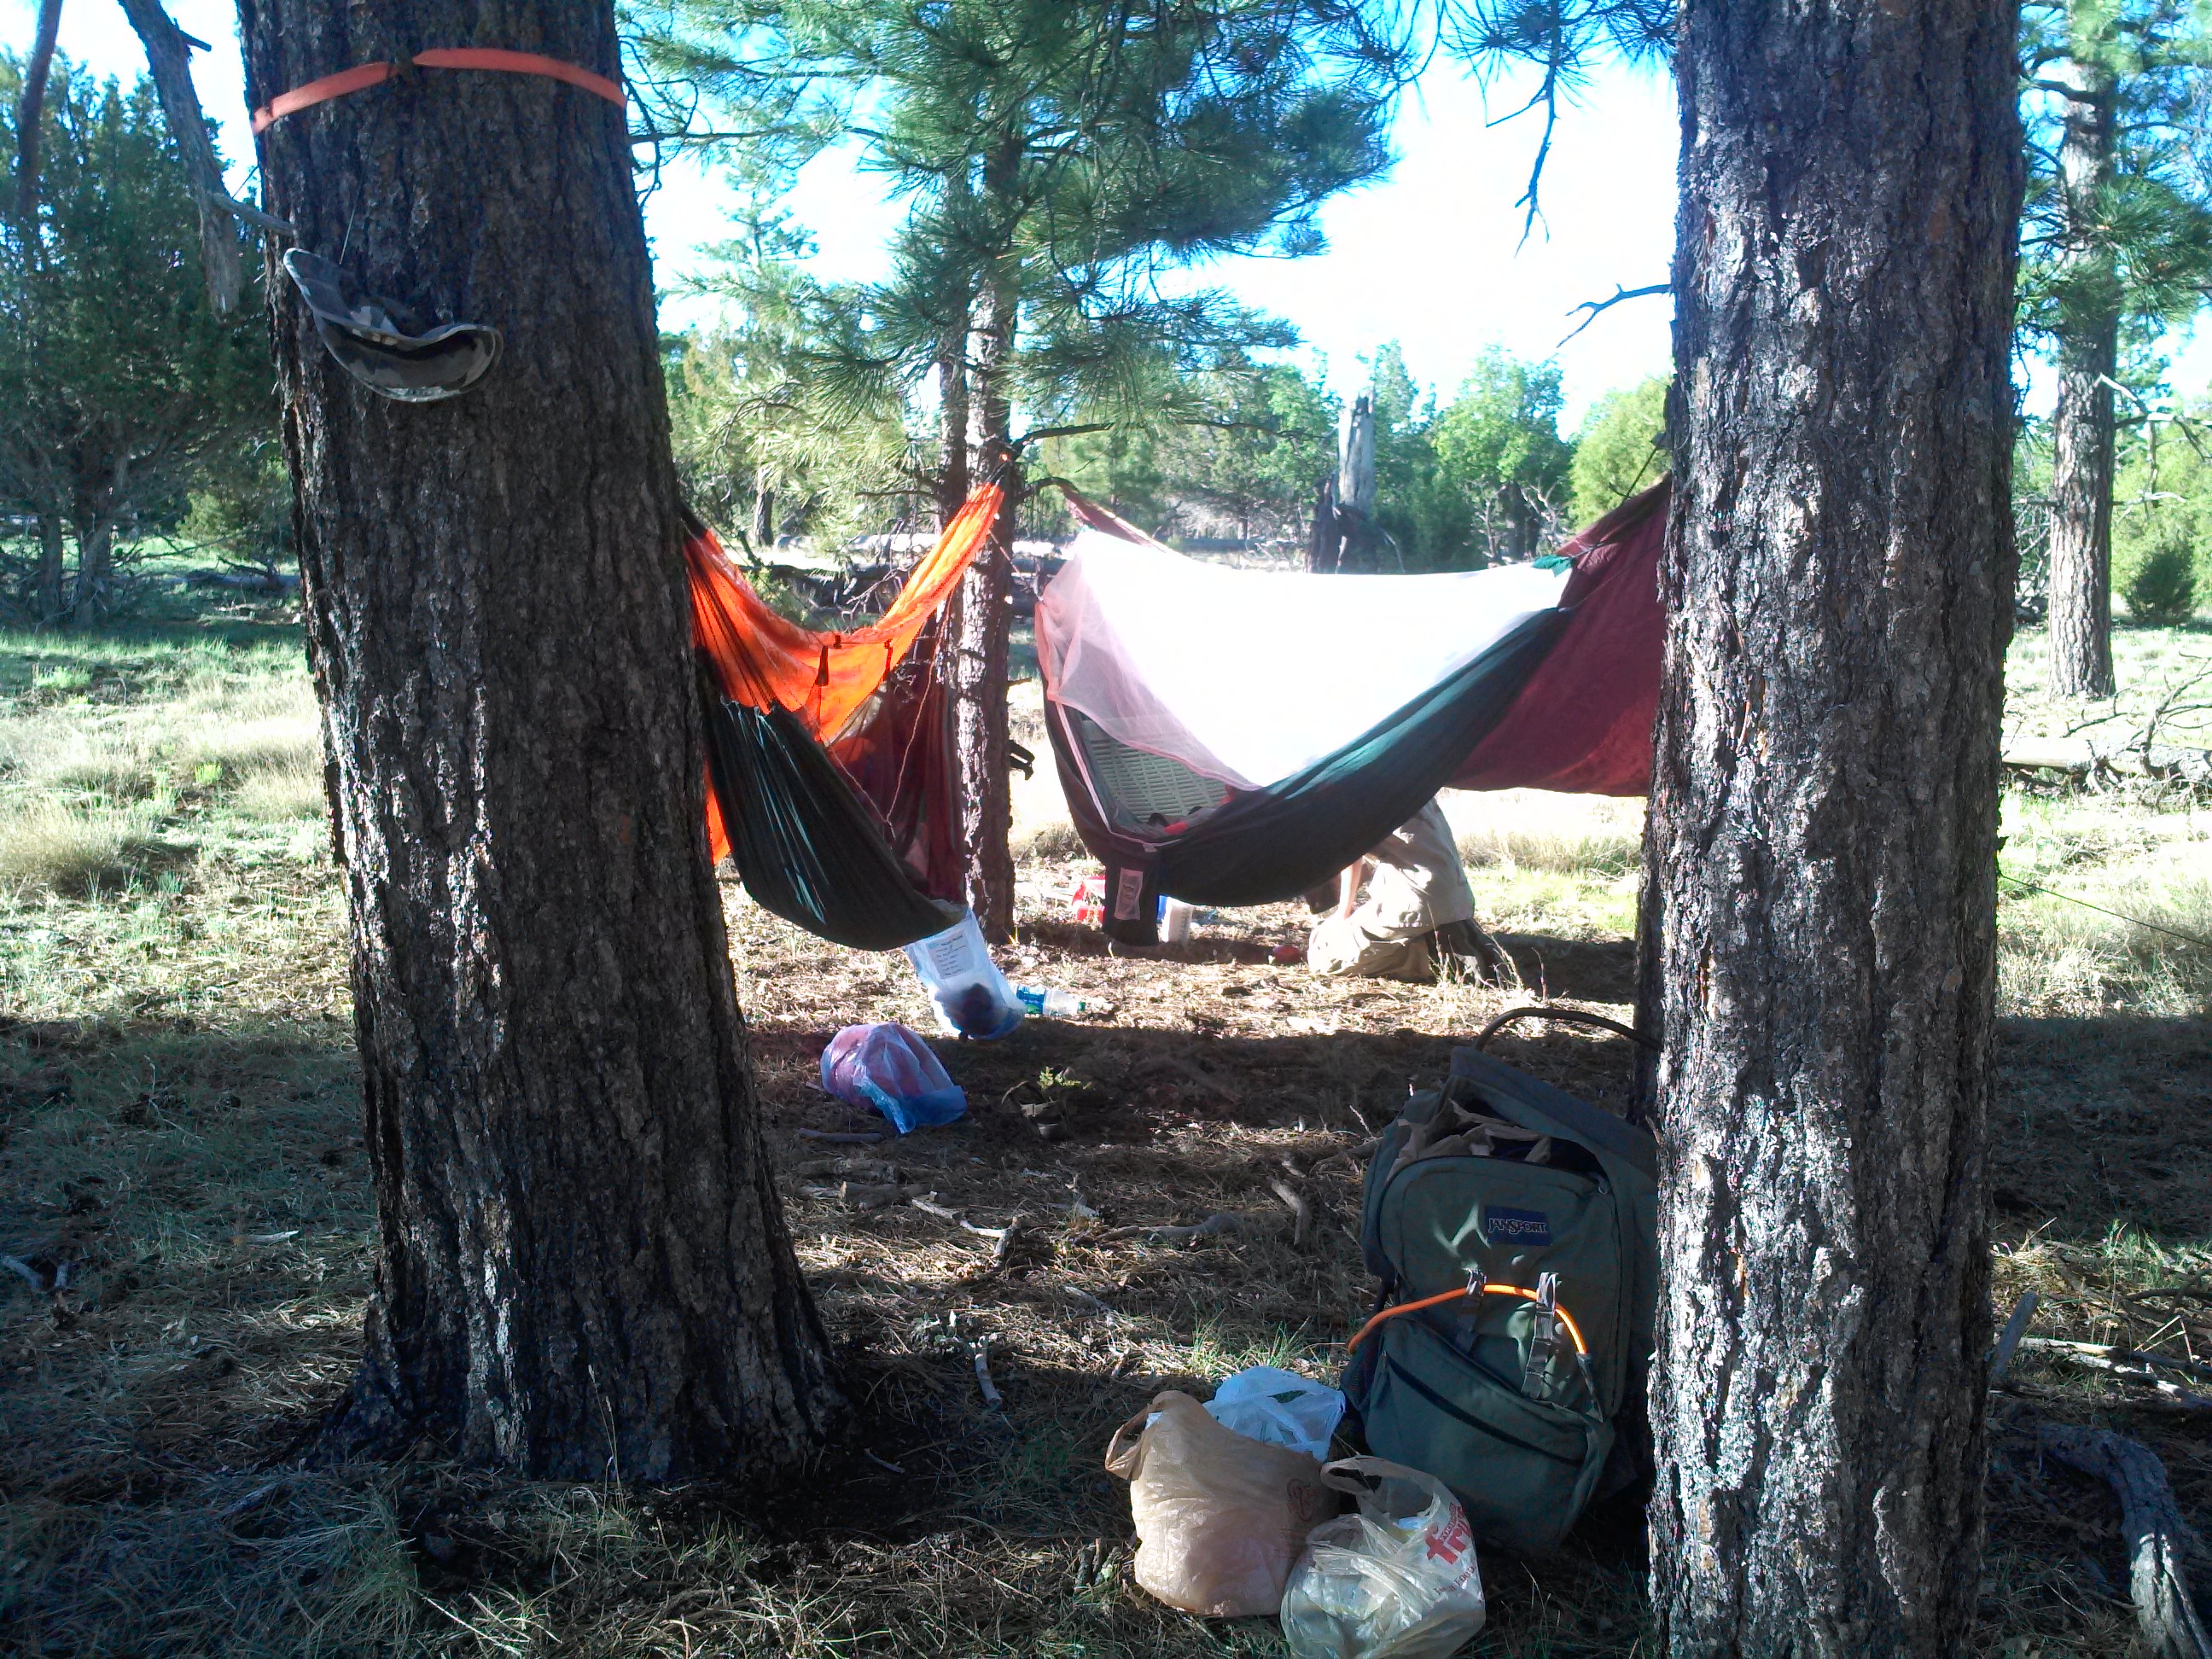
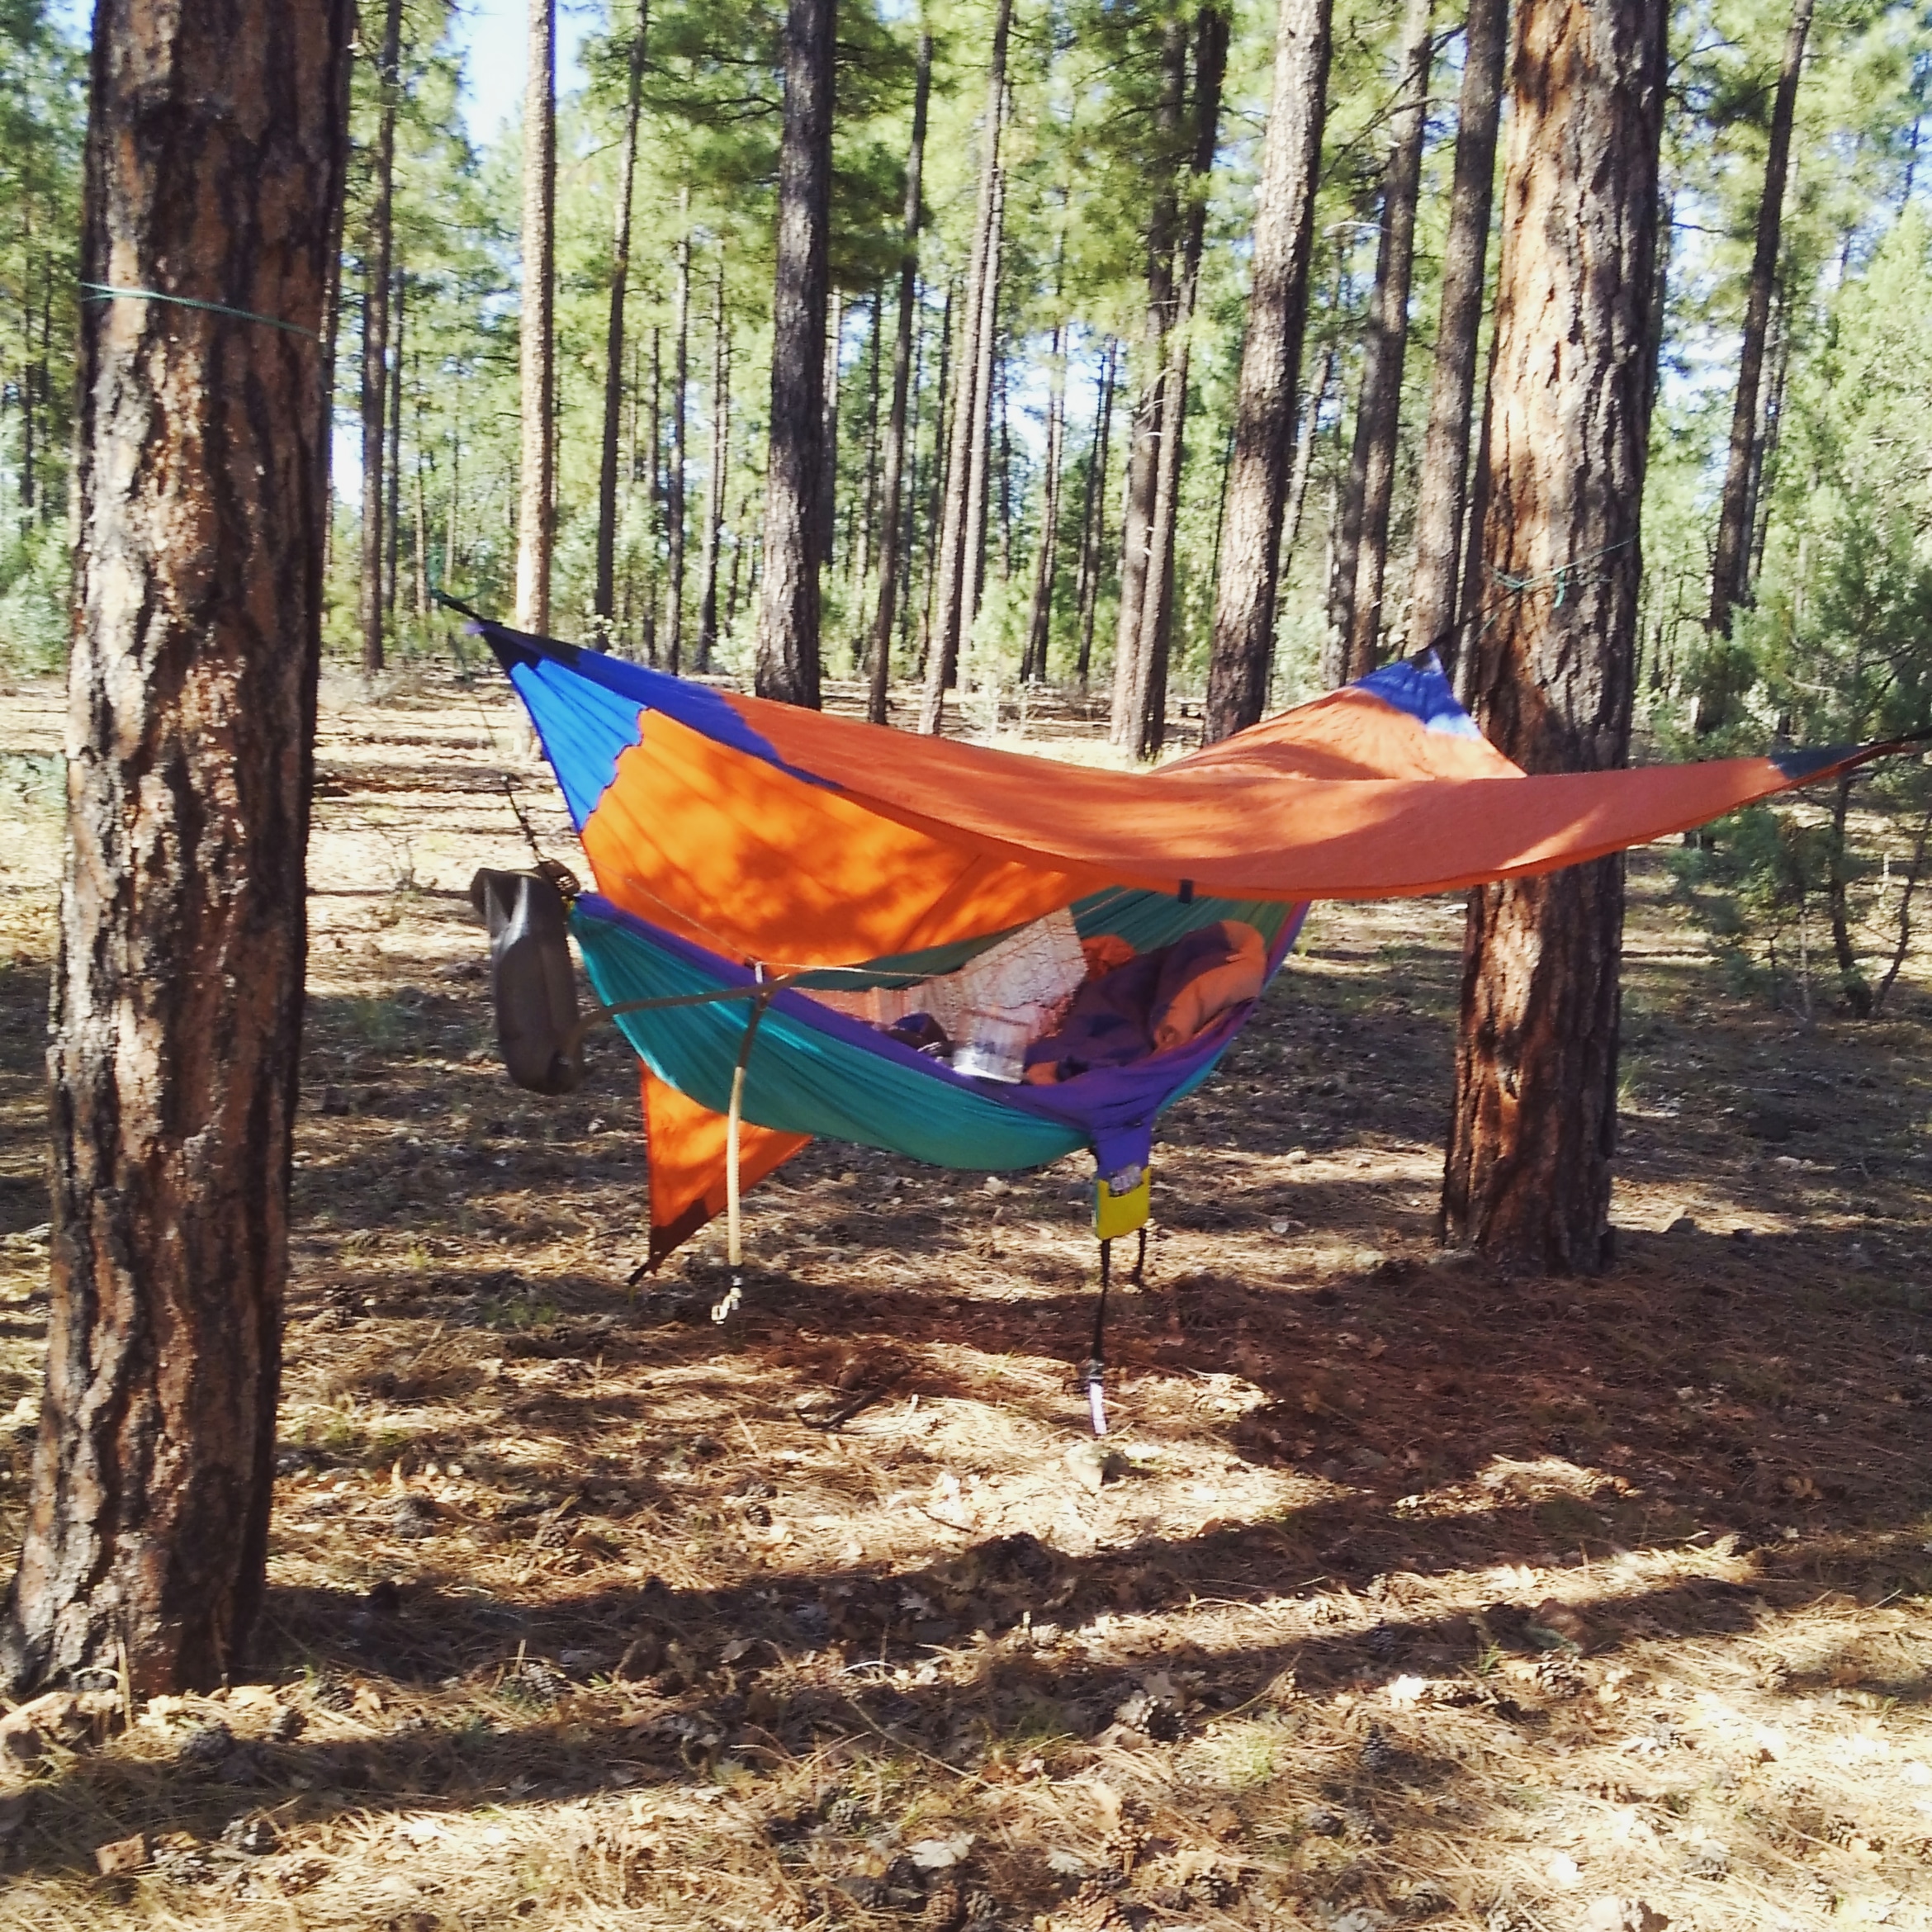
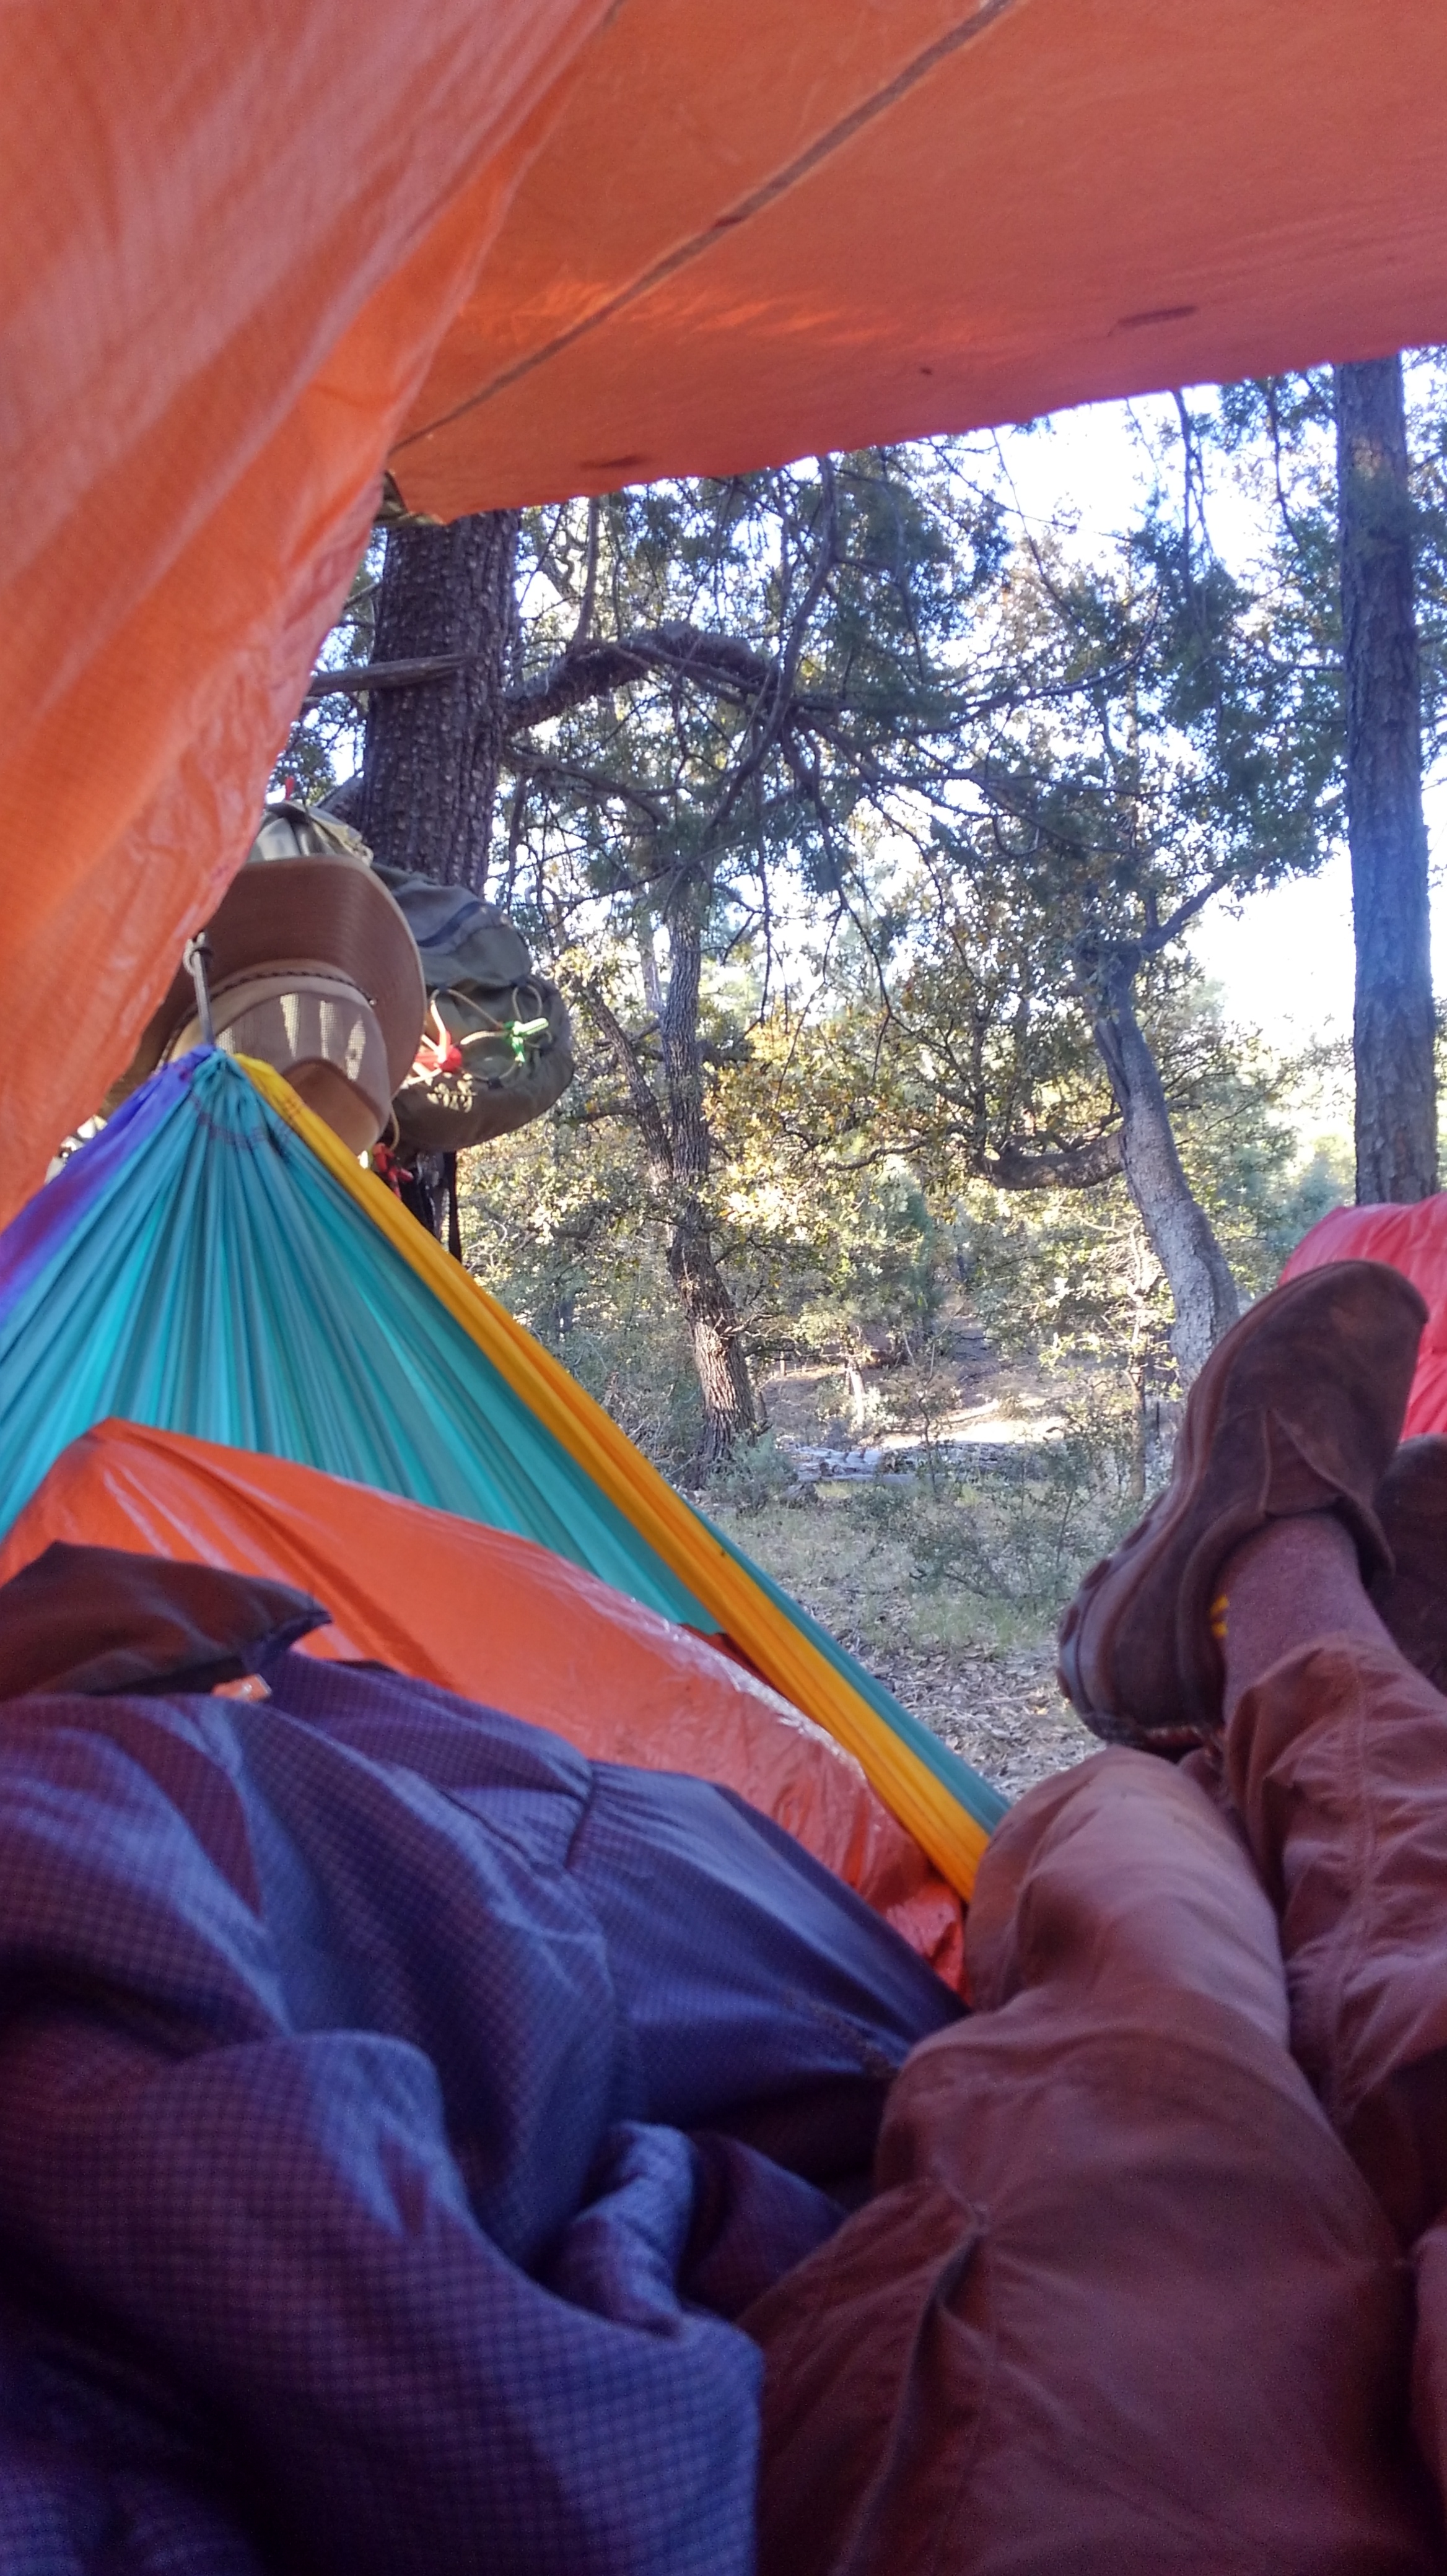 e ground, leaving enough of an angle to get in and out of the hammock.