After finishing day-job business early in Yuma, I realized that I did not want or need to take the [yawn] I-8 to AZ85 to I-10 back towards Phoenix.
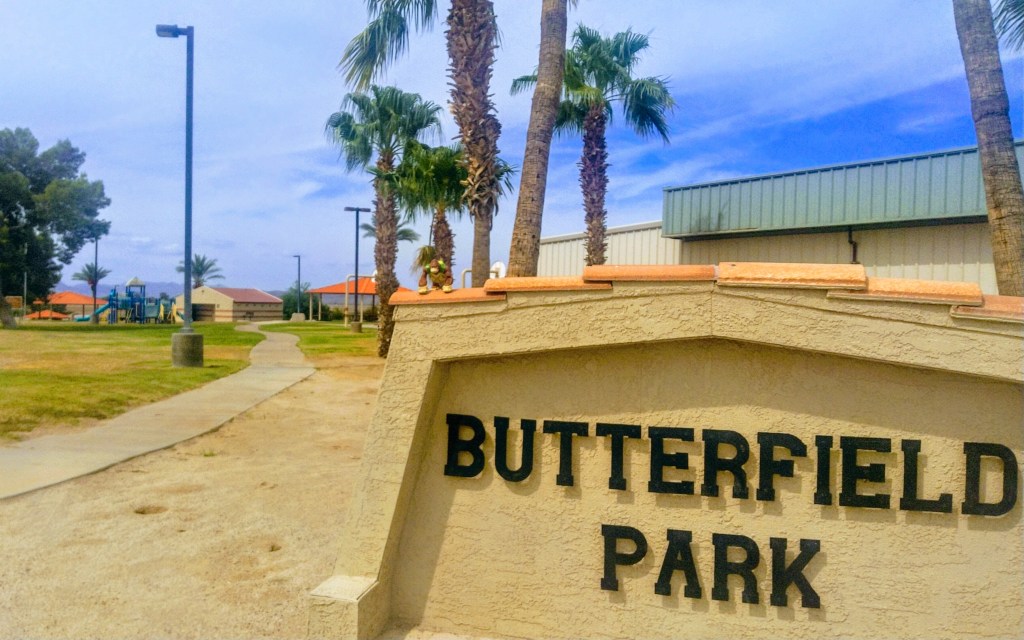
Interstate 8 replaced the old US 80 through this part of the state. US 80 replaced the Butterfield Stage Route. The actual Butterfield stage only ran a few years (1857 to 1861), but their route held onto the name. It was the wagon route from Phoenix to Yuma.
The stage route benefitted from the work of the Mormon Battallion who beat the path from Santa Fe to San Diego, including what had long been known as the Gila Trail to Spaniards and other locals.
It’s flat desert. Follow the river as long as you can until you have to cut across to the mountain pass. Not a lot of cause for innovation.
This obvious route became part of the Dixie Overland/Lee/Bankhead/Ocean to Ocean/etc. Highway by the 1920’s, when the Feds, finally taking an interest in highway construction, decided they needed numbers. The number for this jumble of routes was initially US 80.
As Us 80 meandered across the state, if followed the old wagon route (as did the railroad line) until around what is now Gila Bend, where it bent north towards Phoenix. The original stage route bent southeast towards Tucson. Phoenix was barely a settlement in the 1850’s.

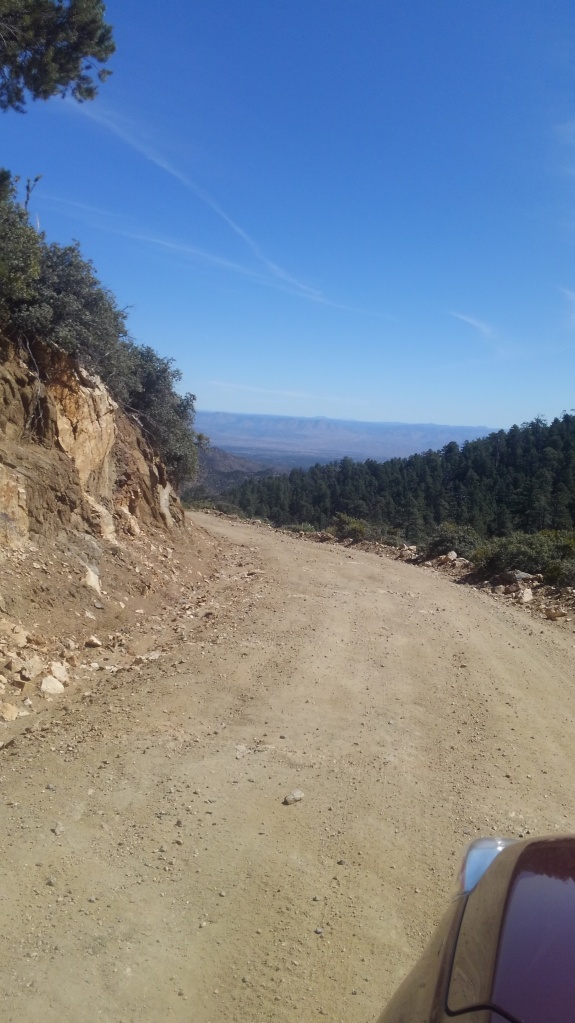
Butterfield wagon ruts are long gone, but parts of actual US 80 exist, much of it as an access road along Interstate 8. We start along there.
At Telegraph Pass, I-8 winds through the Fortuna Foothills to descend into metropolitan Yuma. These mountains are prime habitat for both Border Patrol and the Arizona Highway Patrol. Just saying. US 80, as an actual paved road you can drive, starts on the east side of this pass at the Ligurta exit.
I had lunch at some small place in Wellton where I ate my fast-food quality sandwich while trying not to listen about the Local Loud Trumpster expound on his theories to two poor women listening politely. I was happy not be included in that conversation. (I have different ideas). I was happier to leave.
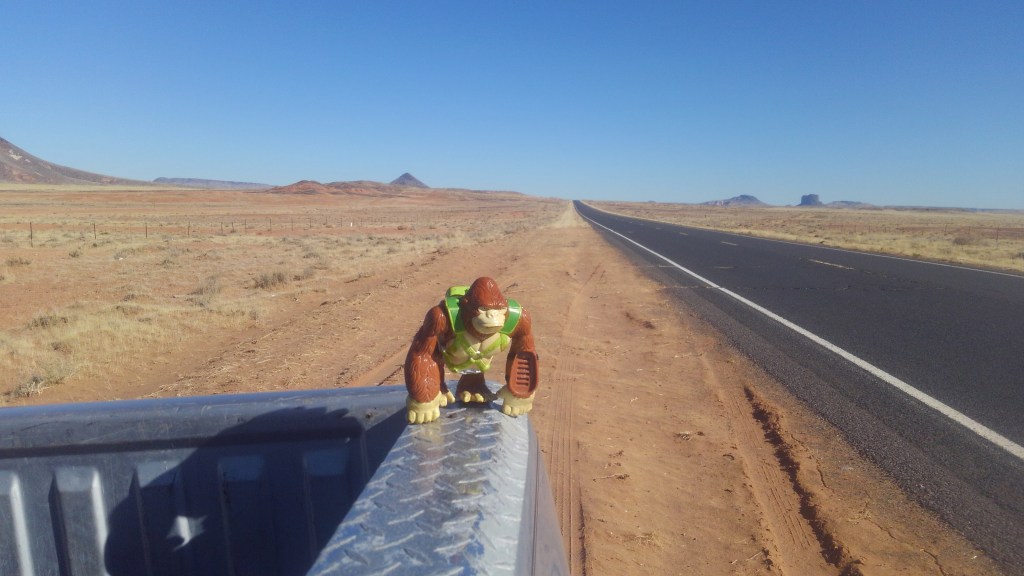
Parallel to I-8, US 80 is a two lane highway with a speed limit of 65-ish. To the south, train tracks and beyond, the mighty interstate. To the north, you can see what farming in the southwest desert looked like right before the water ran out. North of that is the zombie bed of the Gila River.
The quest for Wellton Pond

I came across a sign saying Wellton Pond 10 mi. Had a little fishing symbol. I was ahead on time, so I took the right off of Old US 80 on Avenue 45E and headed due north for about 6 miles, crossing the Gila River bed. Following another sign, I took the right (east) on County 2nd Ave for another 5 miles until I found the pond at the junction of 2nd Street and Ave 50 East.
Wellton Pond is not on the map. Following signs as I did is about the only way to find it. It is a small hole full of water, choked by a wall of brush. I do not know who owns the property, but there were no barriers to access other than the brush. People clearly fish here. The farm field adjacent had an outhouse, for which they have my gratitude.
Once I had satisfied my curiosity with the pond (perhaps so you don’t have to) I continued east on 2nd Street until it bent south, becoming Avenue 52 E and, once back across the Gila, graded dirt until its eventual terminus with Historic US 80 just as that terminated back into Interstate 8 near the Mohawk rest area.

Sentinel

Sentinel proper is north of its exit from I-8, but the part I visited was to the south.
In truth, I wanted to see the Sentinel Plain Volcanic Field, but most of that is on the wrong side of the fence, inside the bombing range. You might be able to do this with a permit. I wasn’t that curious.
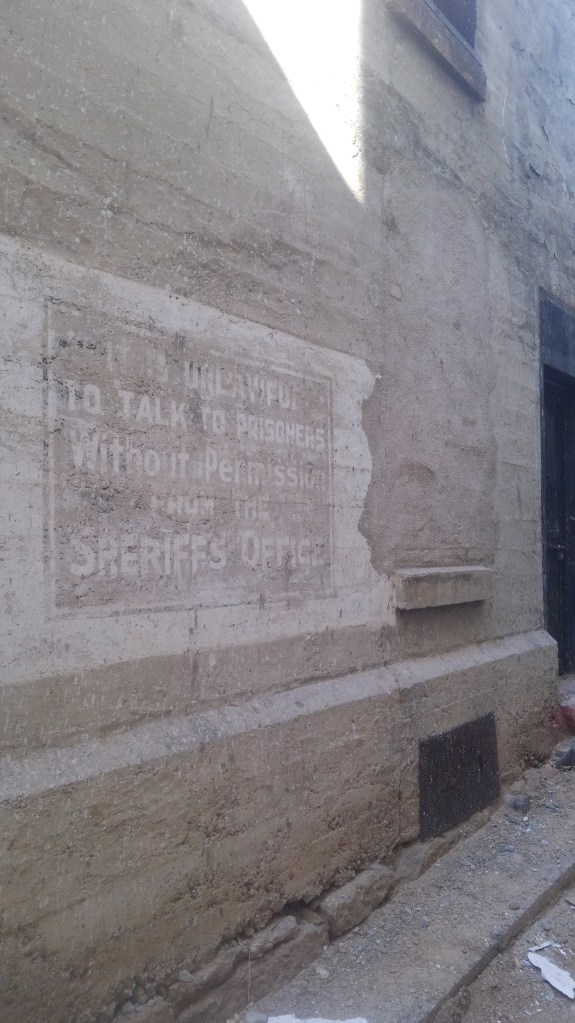
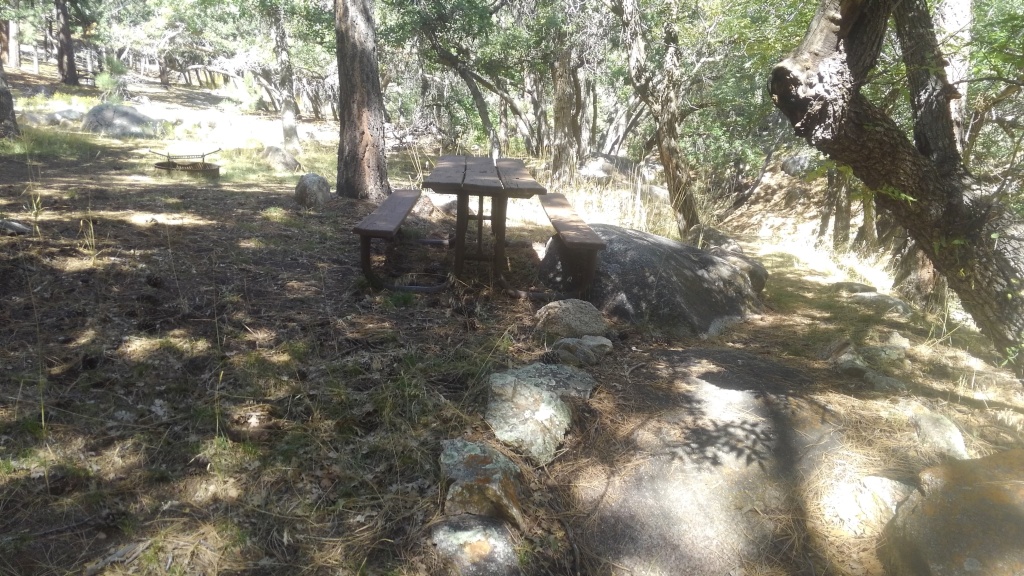
Back at the highway, though, you can see the remains of the Sentinel stage stop that once served bad food and brackish water to the brave passengers of the Butterfield Stage Line.
There is apparently more on this across the highway in Sentinel proper (which consists of like 6 buildings) but I had squandered too much time looking for a tiny pond.
US 80 north
Old US 80, as a separate highway, resumes on the east end of Gila Bend (past the Space Age Lodge), winding north along its original route west of the Gila River. Once again, you drive along the two-lane highway with the honor system as a speed limit, though pavement conditions will punish you if you try interstate speeds.
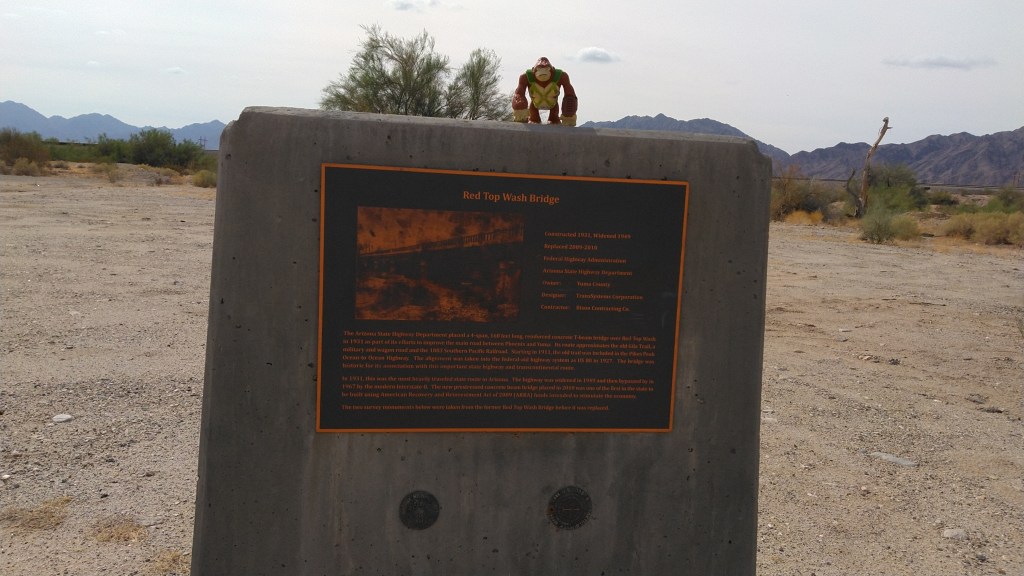
Not all the highway is original. At Rainbow Wash, I stopped to look at the bridge that once crossed the wash, back when this was a maintained coast-to-coast highway. That bridge is a hunk of concrete on one side of the wash. Beside it, the asphalt of “old” US 80 crosses the bottom of the wash, and if that’s flooded, you will have to go over to AZ 85 on the other side of the canals.
In the 1950’s, US 80 was re-routed to follow the route of what is now AZ 85, the connector highway between I-10 at Buckeye and I-8 at Gila Bend.
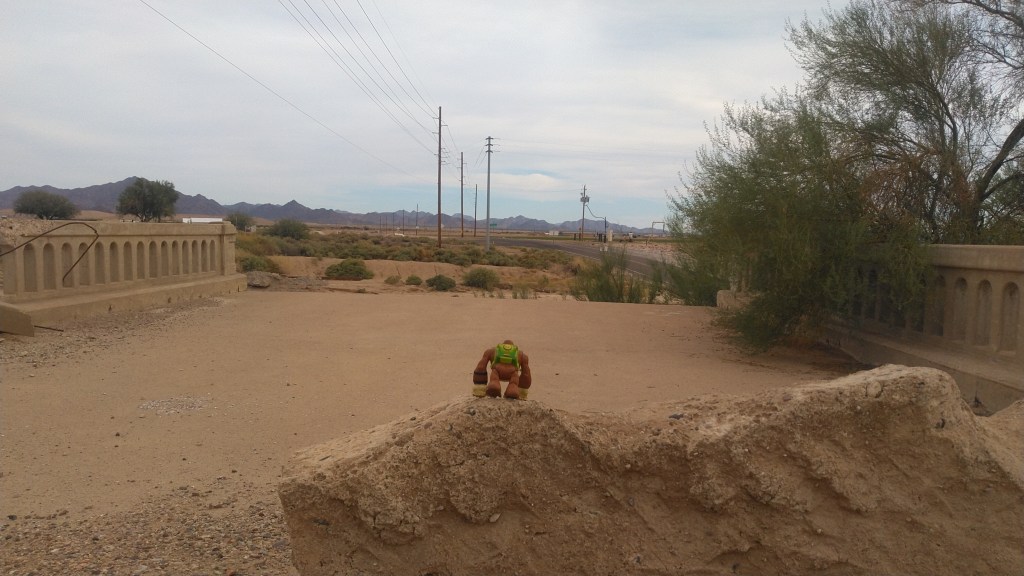
The road bends west until it crosses the Gila River (bed) at the historic Gillespie Dam Bridge.
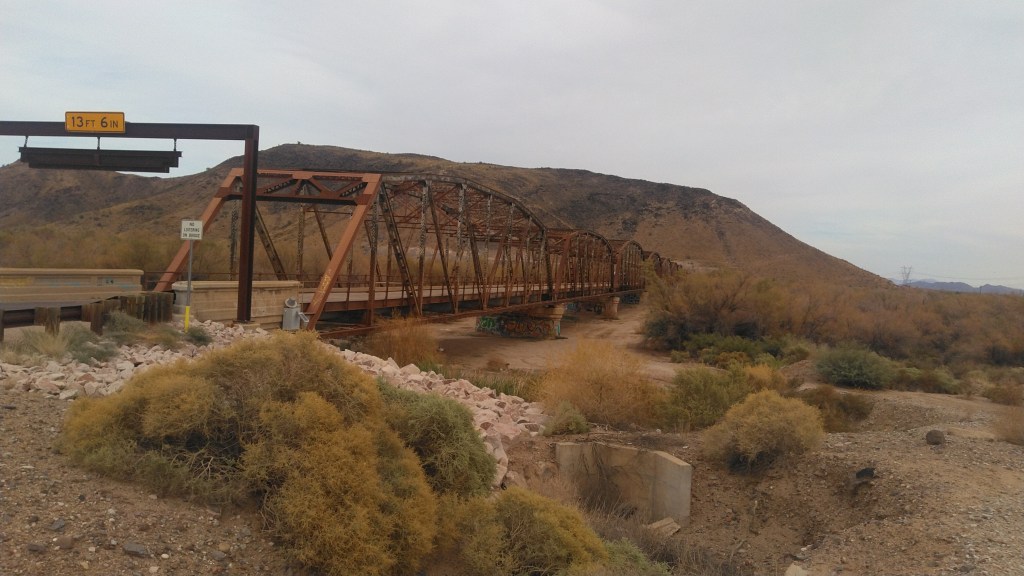
The Library of Congress notes:
Prior to completion of this bridge in 1927, traffic on the Pikes Peak Ocean-to-Ocean Highway at this point was often halted by flooding on the Gila River. The Gillespie Dam Bridge was this strategically important to Arizona transportation in that is finally allowed all-weather travel over this vital transcontinental route. Technologically, the bridge is noteworthy as one of the longest vehicular structures in the state. … In almost unaltered condition today, the Gillespie Dam Bridge is one of the most important examples of early bridge construction in Arizona.
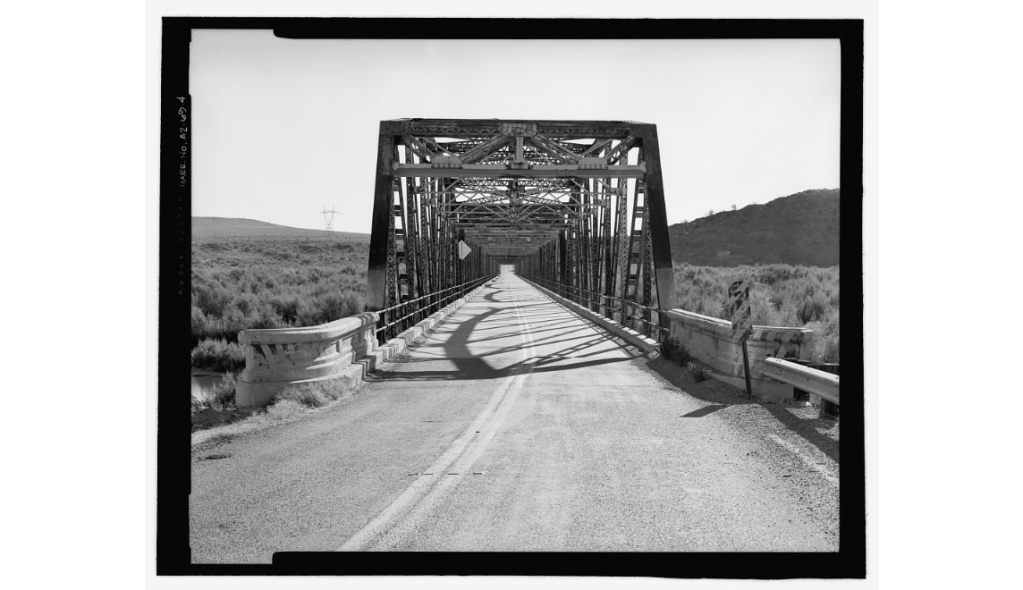
https://www.loc.gov/resource/hhh.az0577.photos/?sp=4
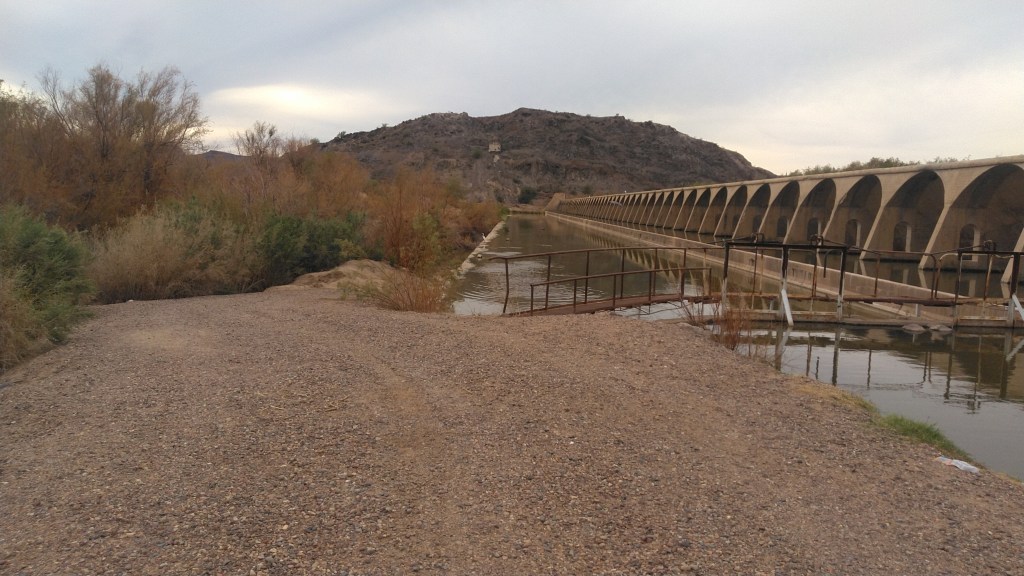

To the north, as you cross, the ruins of Gillespie dam marks the spot where the Gila river, as an actual flowing river, dies. To one side, stern fencing isolated the ports where the water flows into the machinery of irrigation. No fence stopped me from exploring the partially ruined dam on foot, among the frogs and waterfowl.
The old Highway carries on, of course, hooking around to the east through various farming hamlets until it finally intersects with its replacement, AZ85, which takes you to the coast-to-coast highhway’s ultimate replacement, the mighty I-10.
SOURCES:
https://southernarizonaguide.com/butterfield-overland-mail-stage-route-southern-arizona/
https://www.loc.gov/resource/hhh.az0577.photos/?sp=4
https://azdot.gov/adot-blog/us-80-mother-arizona-highways